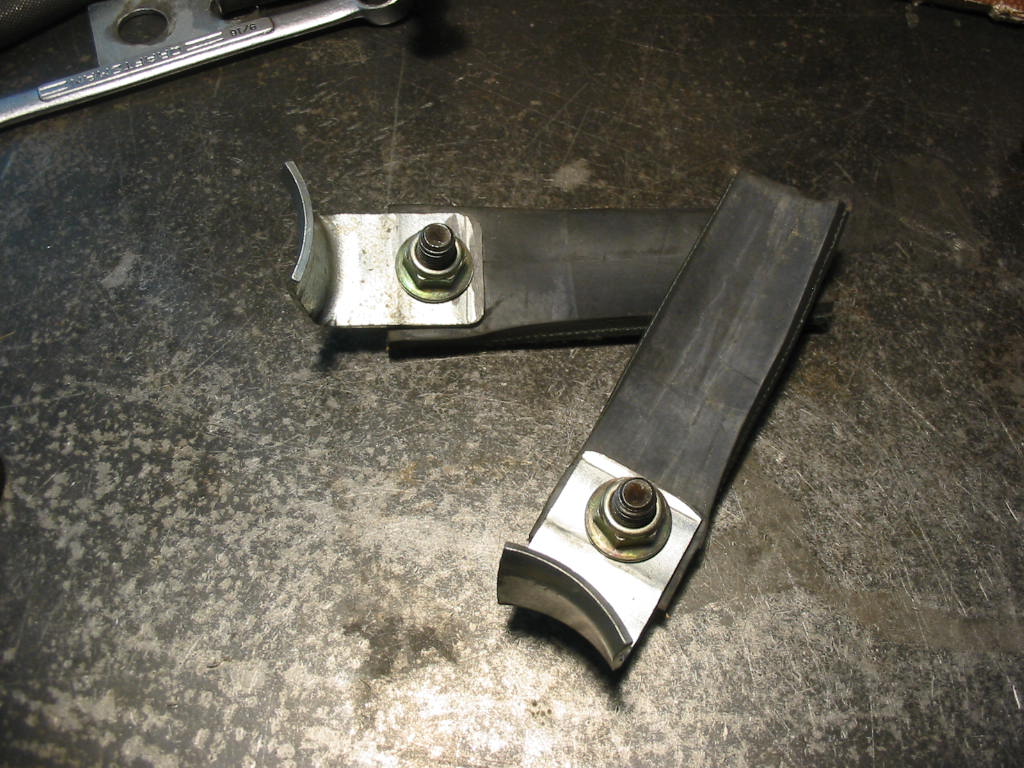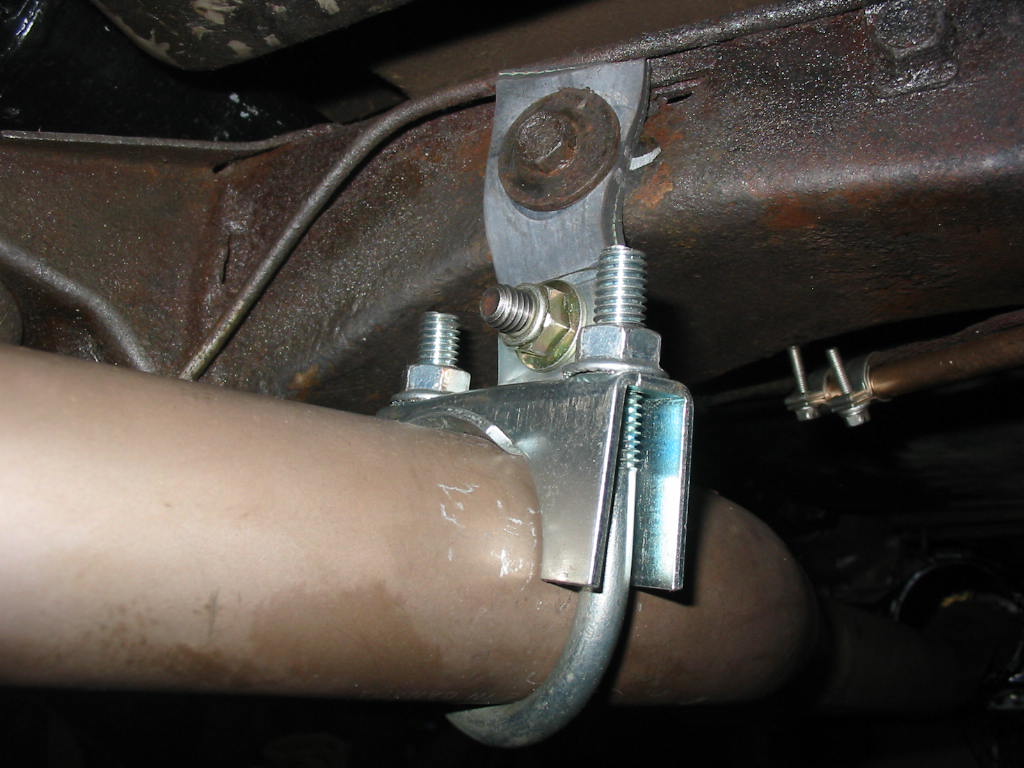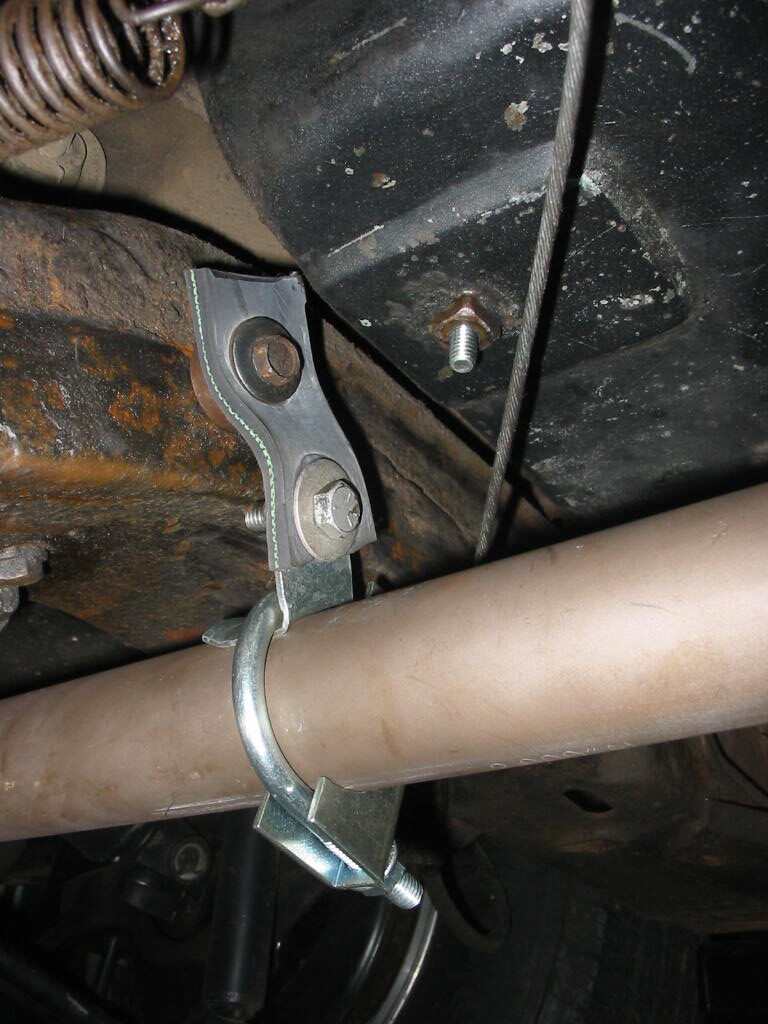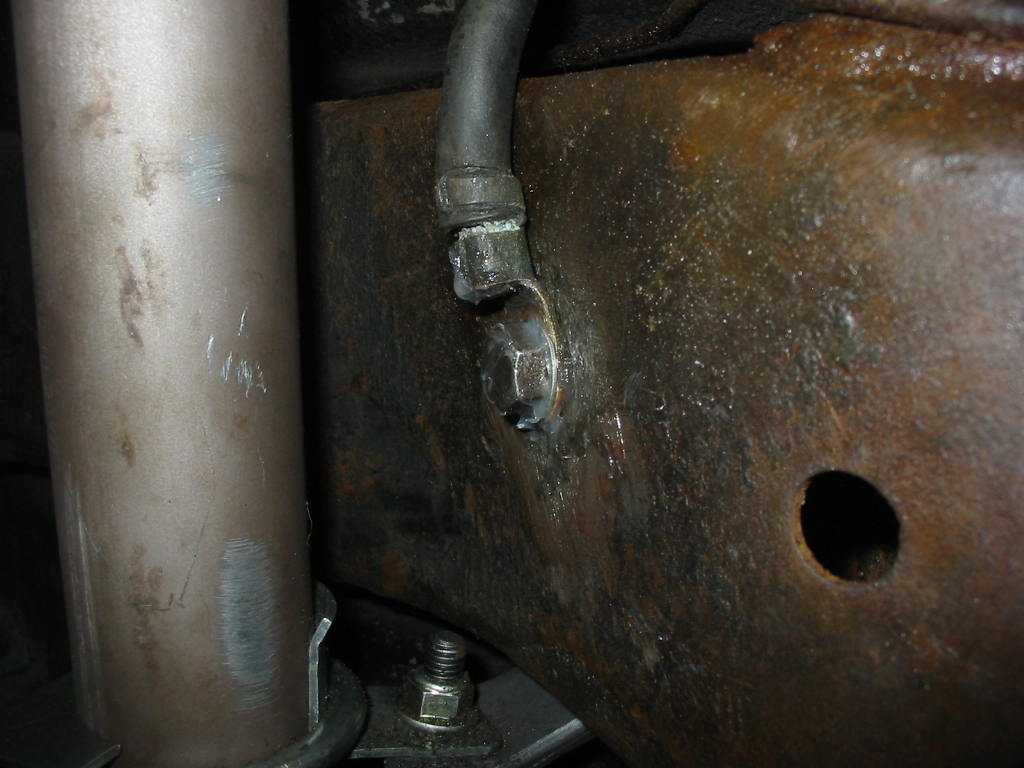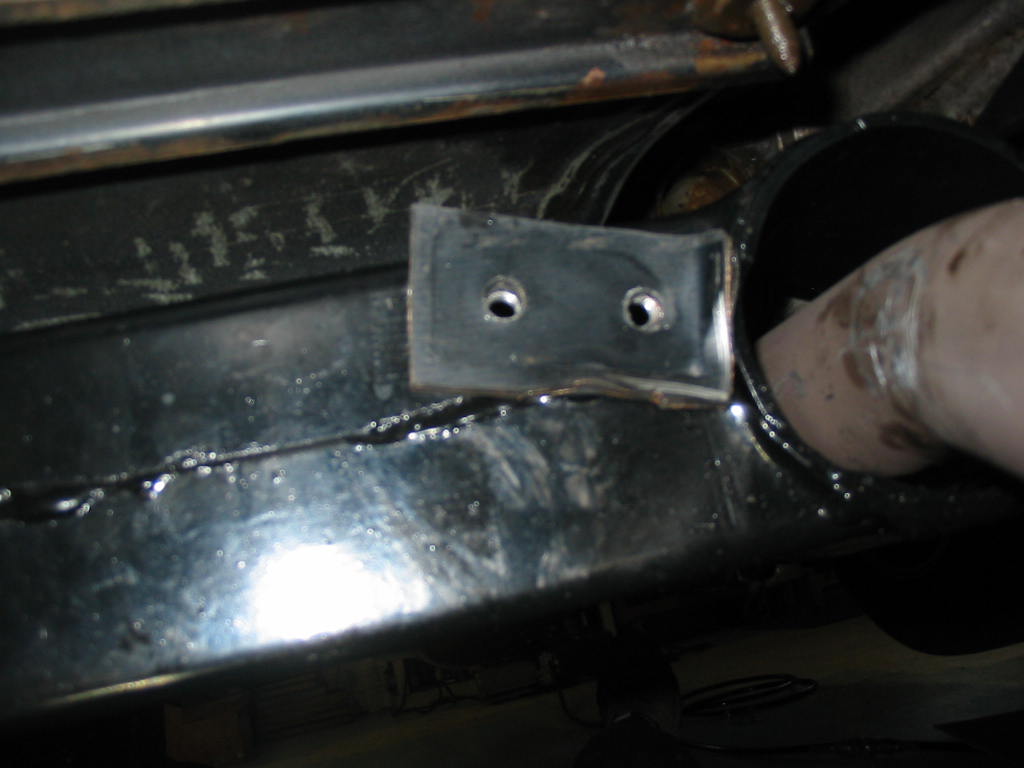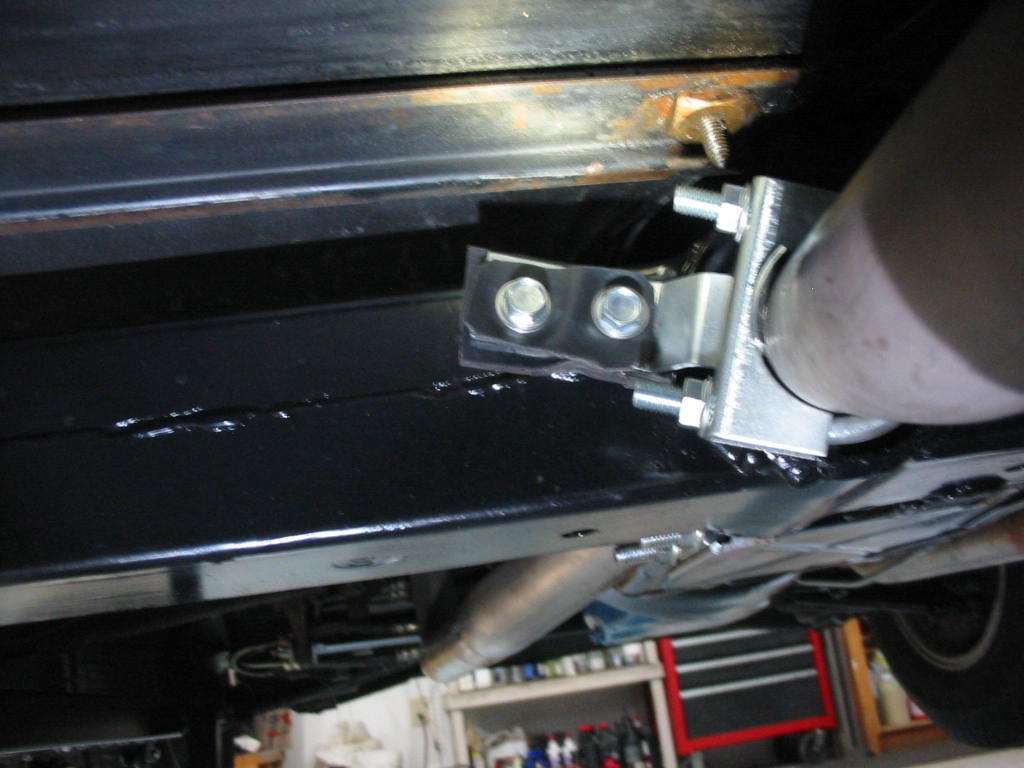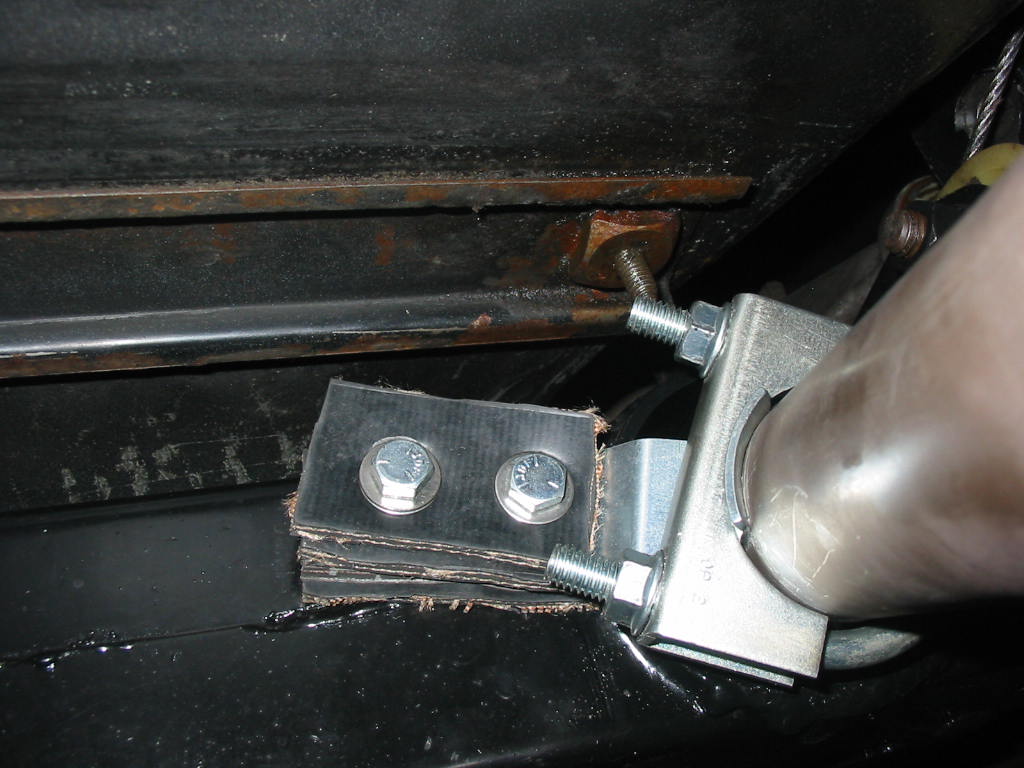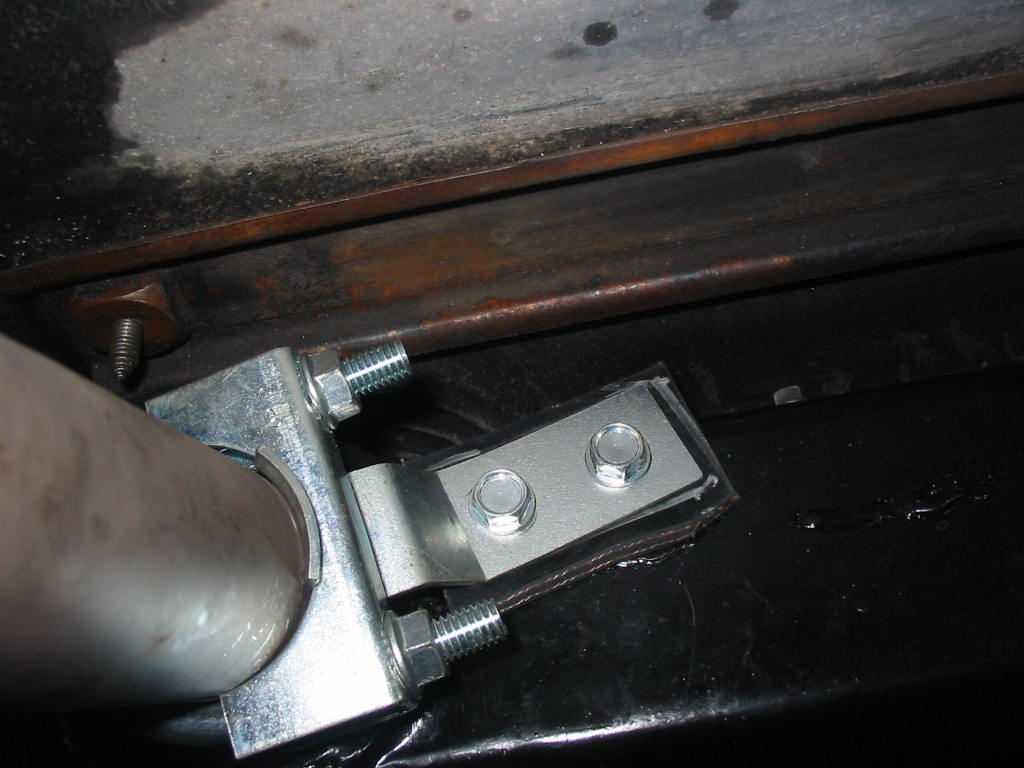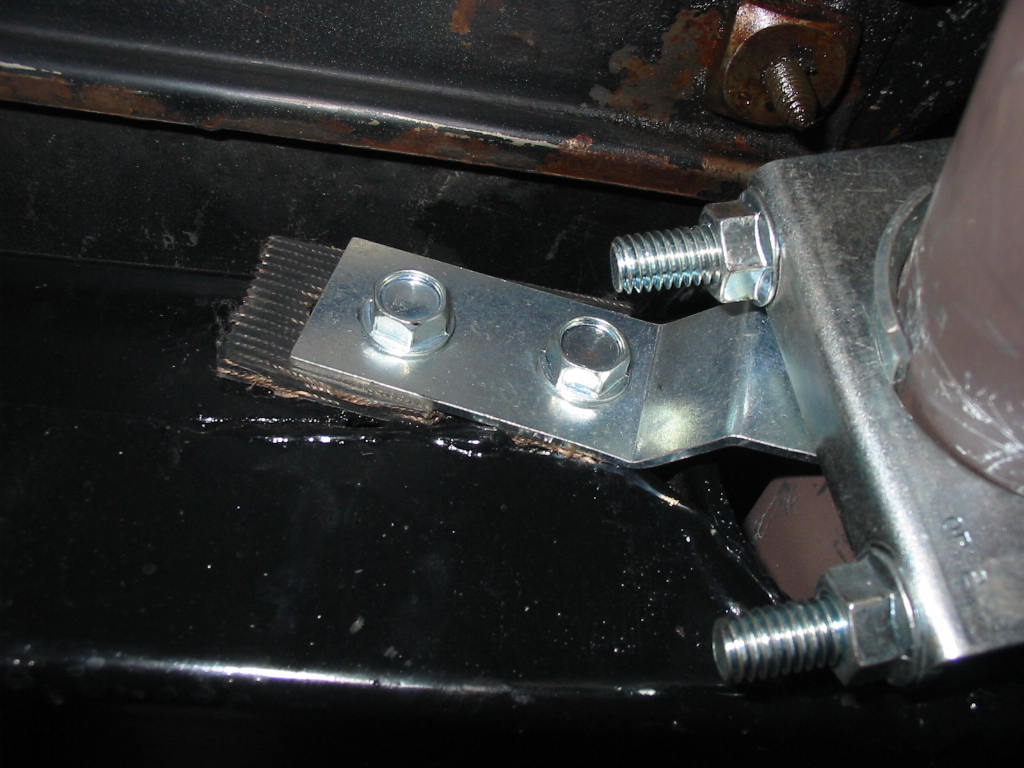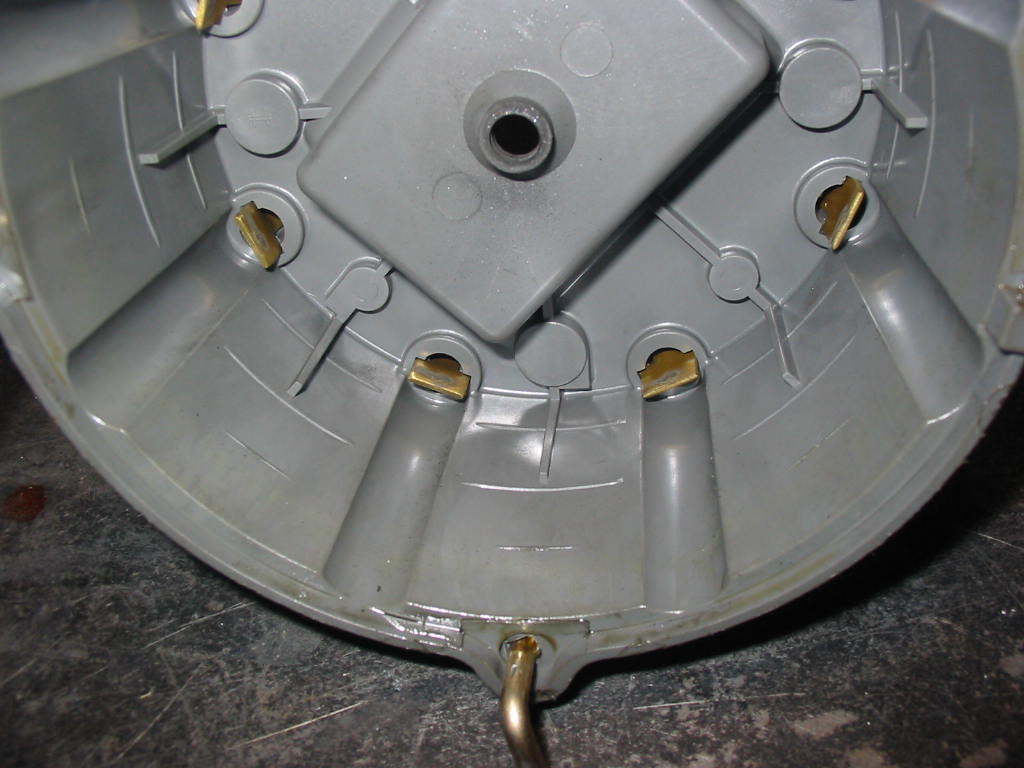
When I removed the exhaust hangers at the cross member the vibrations disappeared. It may look like the exhaust pipe is near the bottom of the hole in the crossmember, but it’s just the angle of the shot. There is a 1/4″ or more of space.
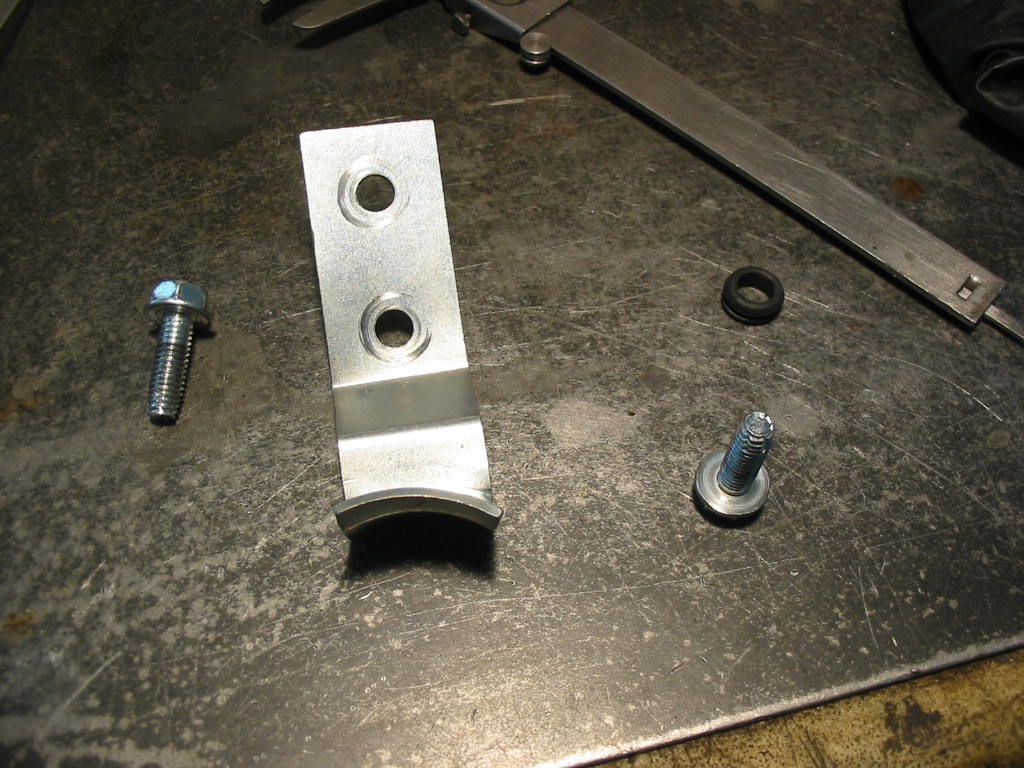
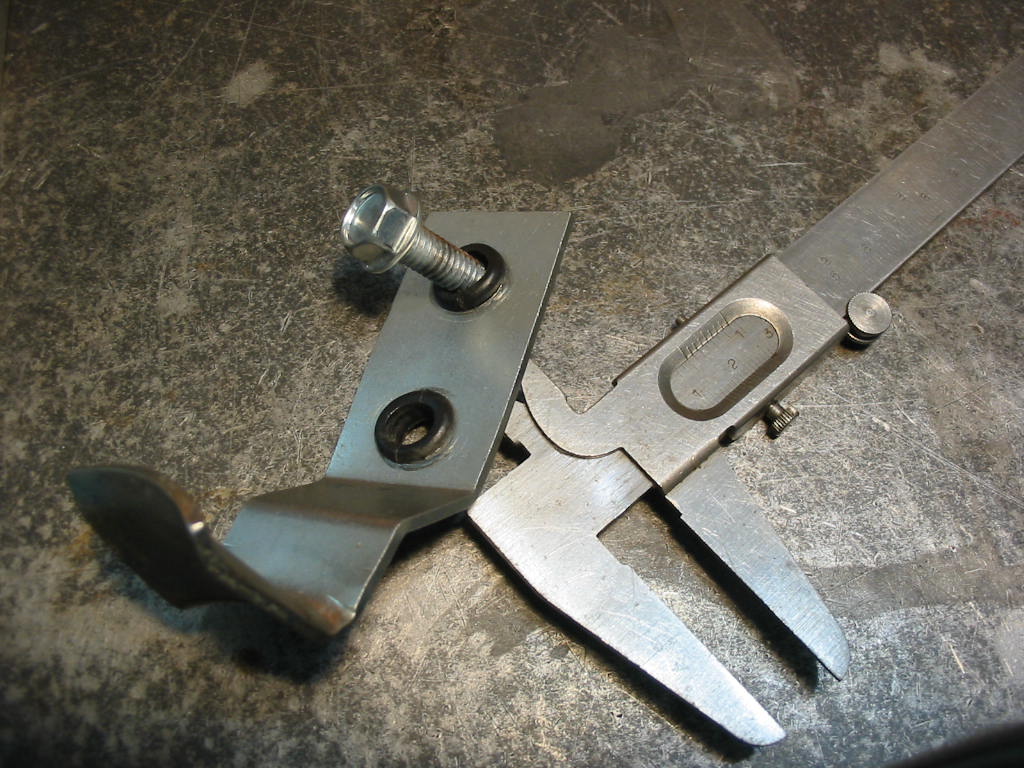
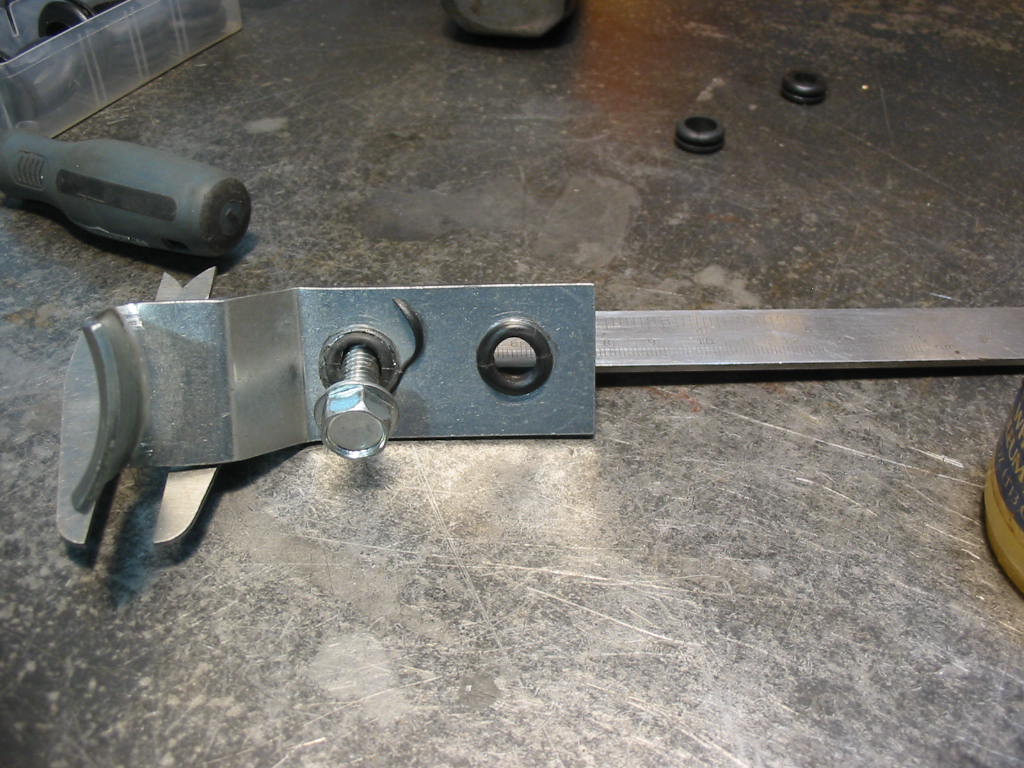
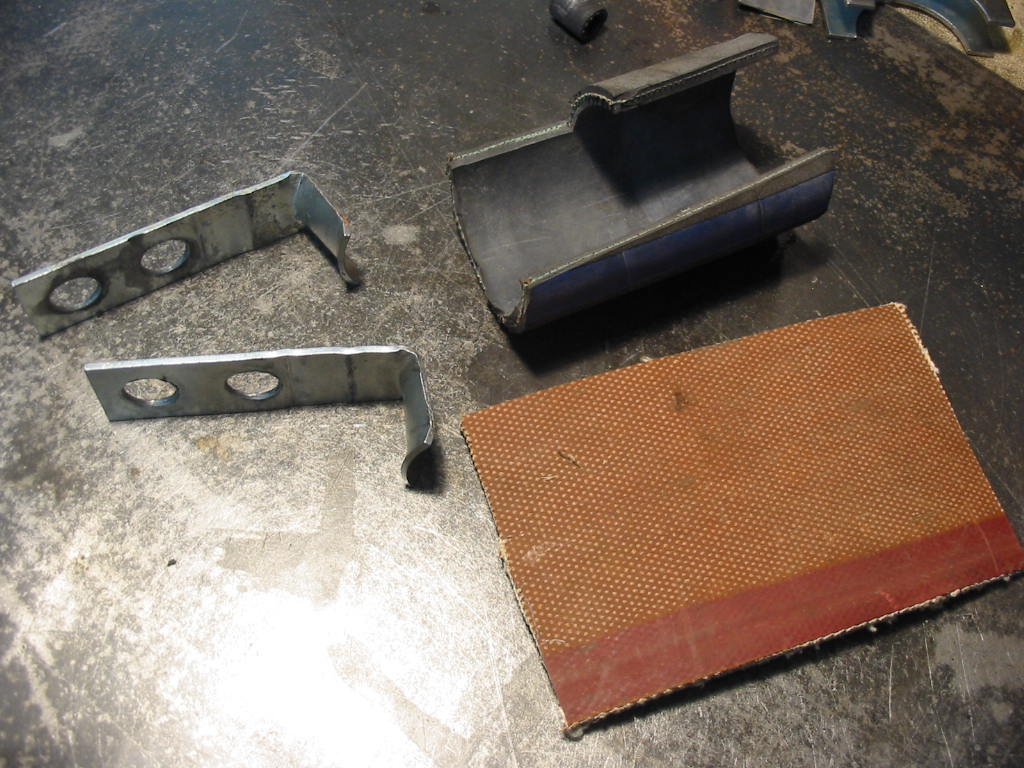
Since the hanger wasn’t fully insulated from the crossmember I decided to open up the bolt holes and insert rubber grommets to isolate the bolts from the metal hanger.
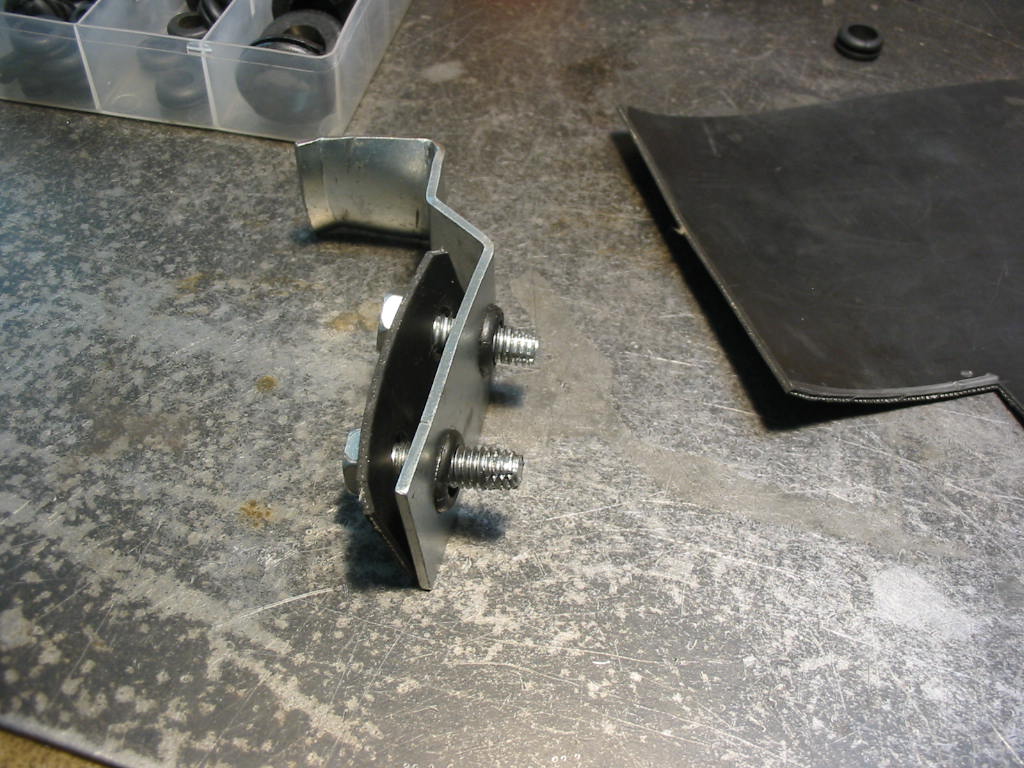
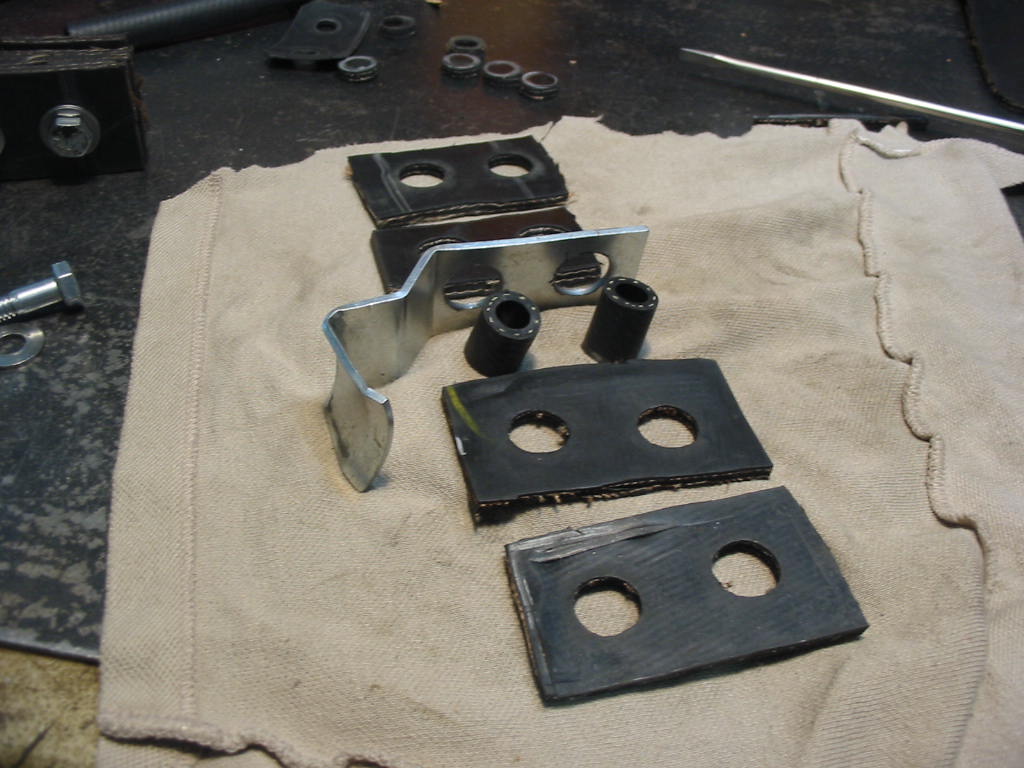
I then added reinforced rubber to each side of the metal hangar.
Unfortunately this didn’t work as the bolt threads cut through the grommets.
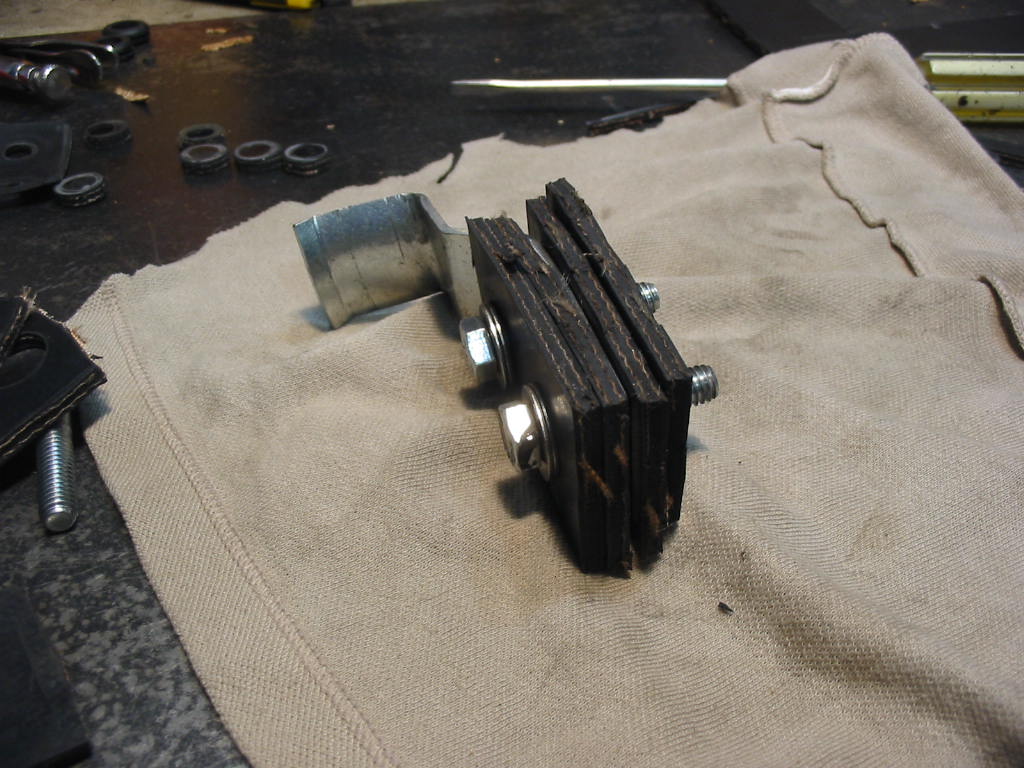
Next I went all out and enlarged the bracket holes to accept a short length of gas line hose and also added two more rubber spacers. I needed to replace the original bolts with longer units. This done and installed it didn’t seem to make a whole lot of difference in the harmonic vibrations.
Next: I need to remove the brackets and then do an actual test drive to verify that the vibrations are indeed gone and that the hangers are the problem.
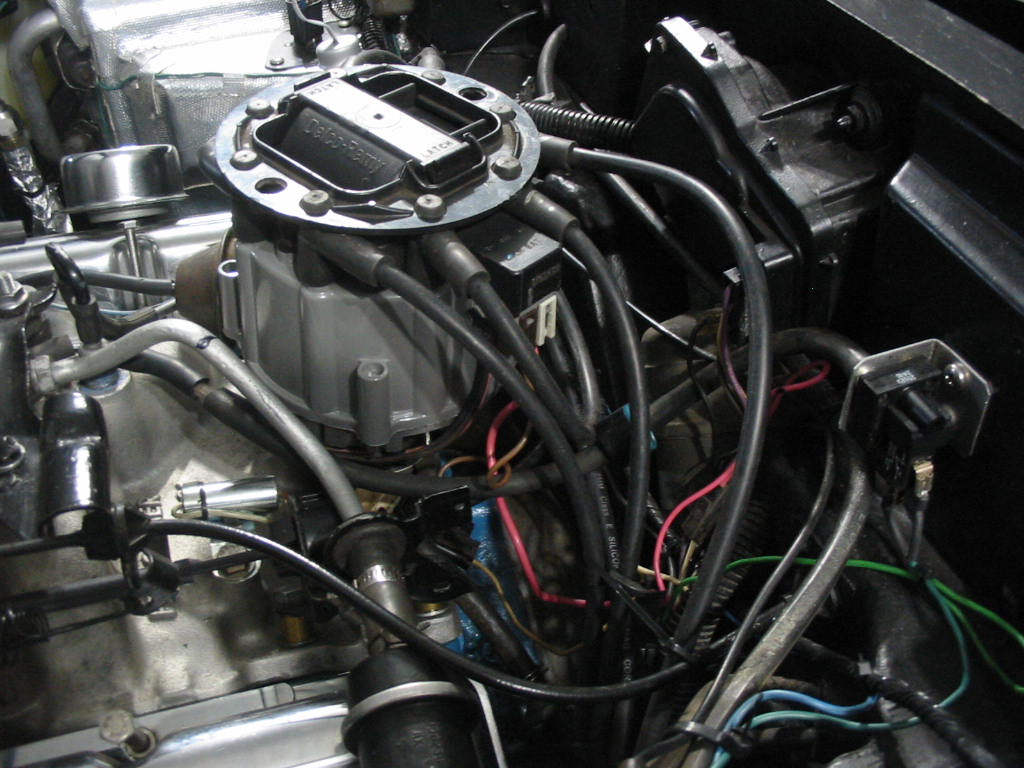
A lot of references on the web talk of harmonic vibrations caused by a faulty plug or plug wires. So I pulled all the plugs and checked them. They all look good with a light tan colour and they all fell between the recommended 4-10 ohm resistance. The wires also passed muster between 3 and a bit over 7 ohms for the longer wires. A bad condenser can cause a harmonic vibration, but this ignition doesn’t utilize a condenser only an ICM which itself supposedly can’t cause vibration problems.
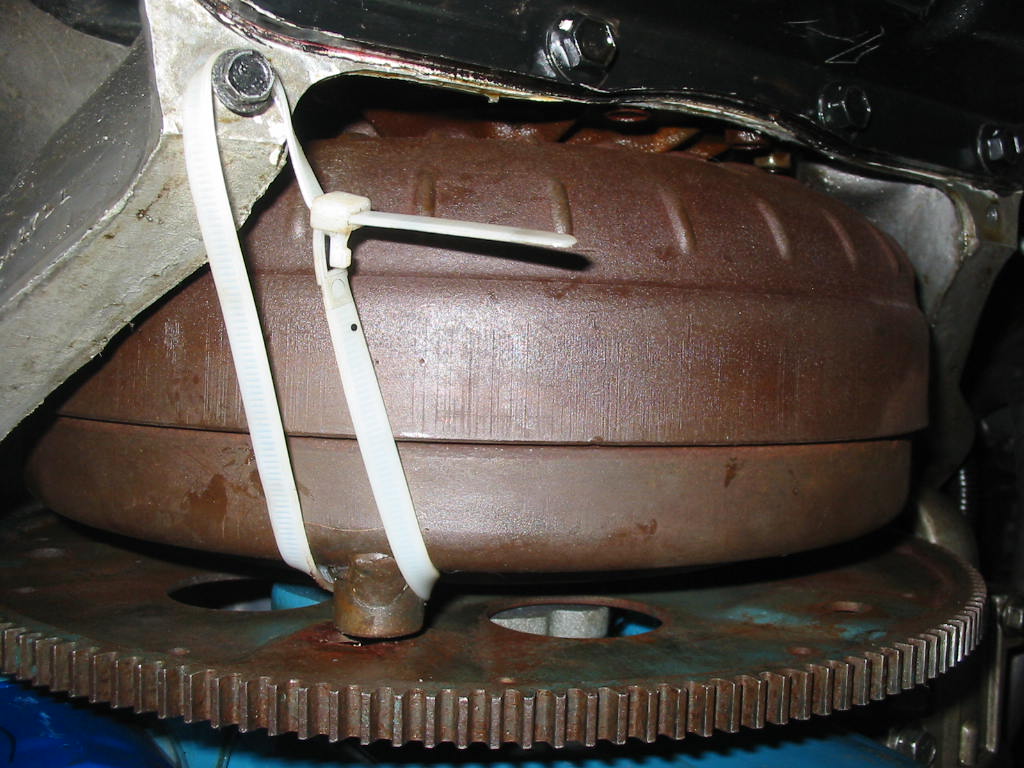
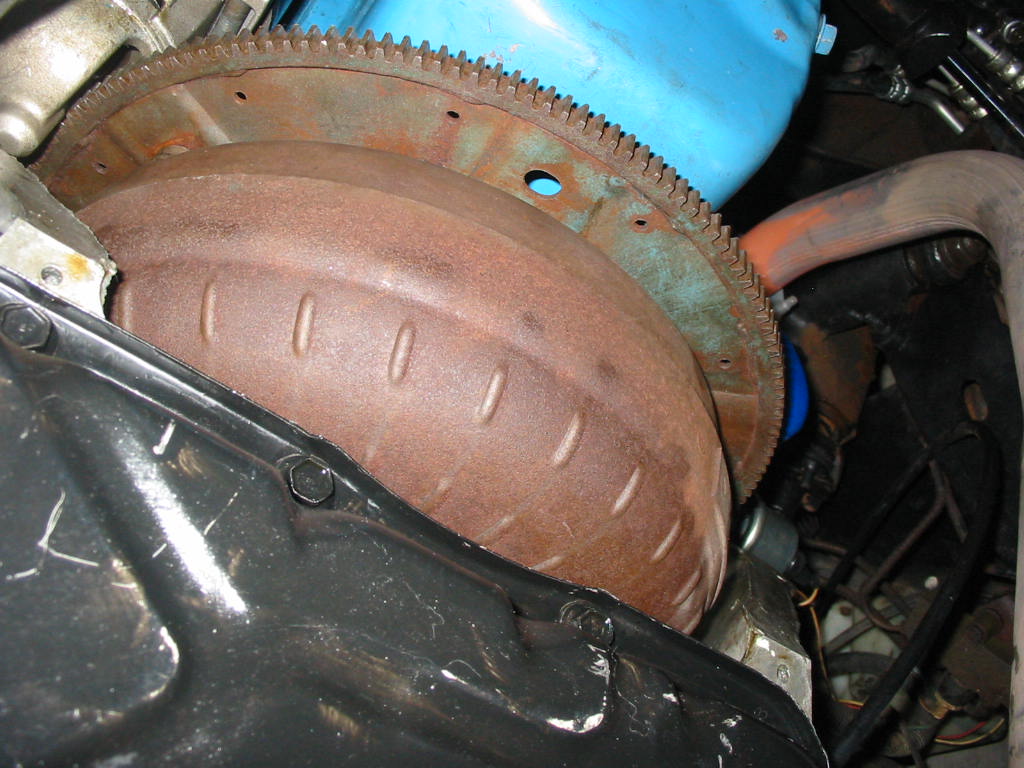
One more thing to check is the torque converter. I detached it from the flywheel and held it back for this test. Still no change so I assume the torque converter is OK.
Fast running out of ideas. If anyone has a comment send it along to my email address – grhm53@gmail.com
Meanwhile I’ll just have to drive the car and maybe something will break and that will reveal the problem!
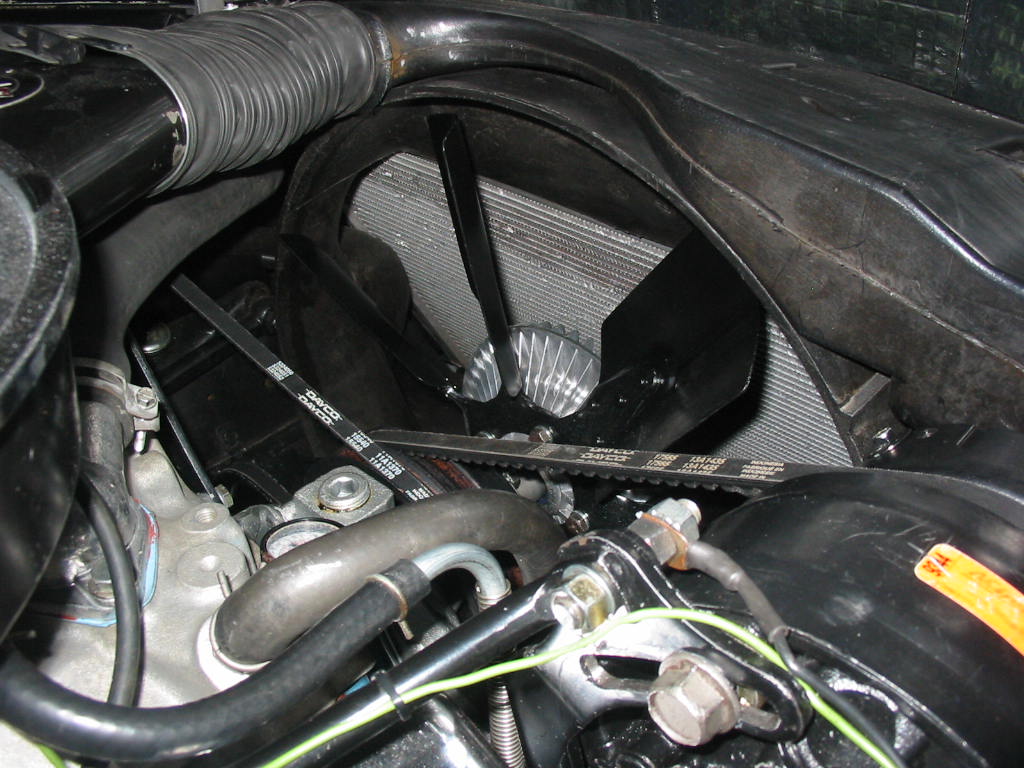
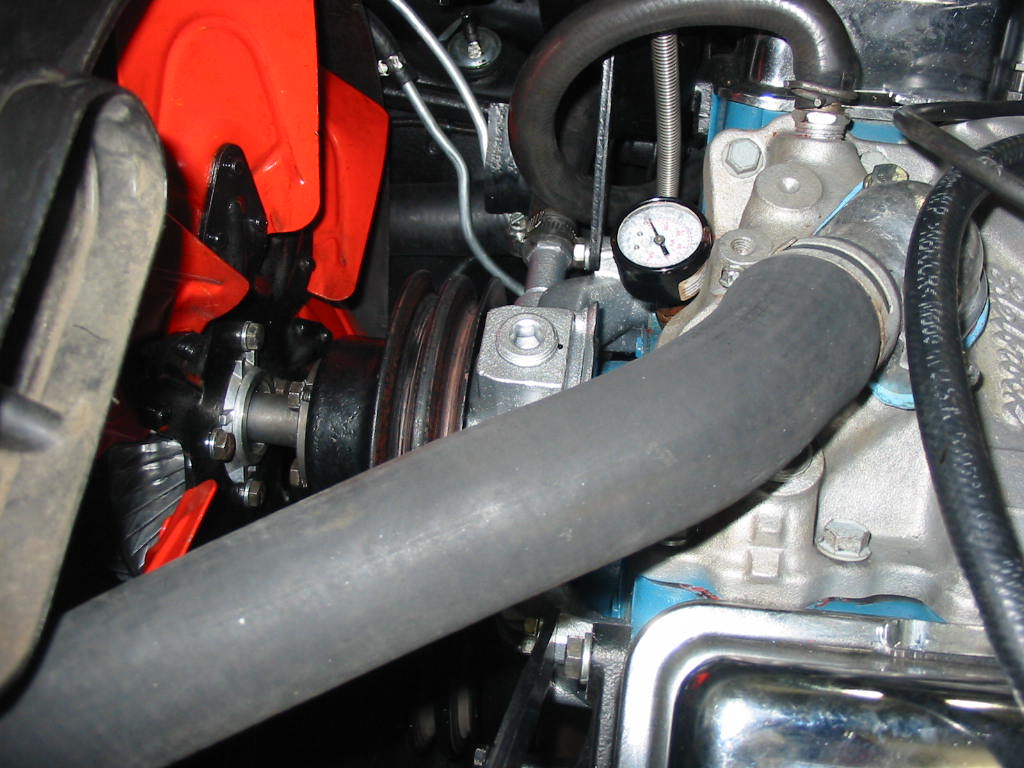
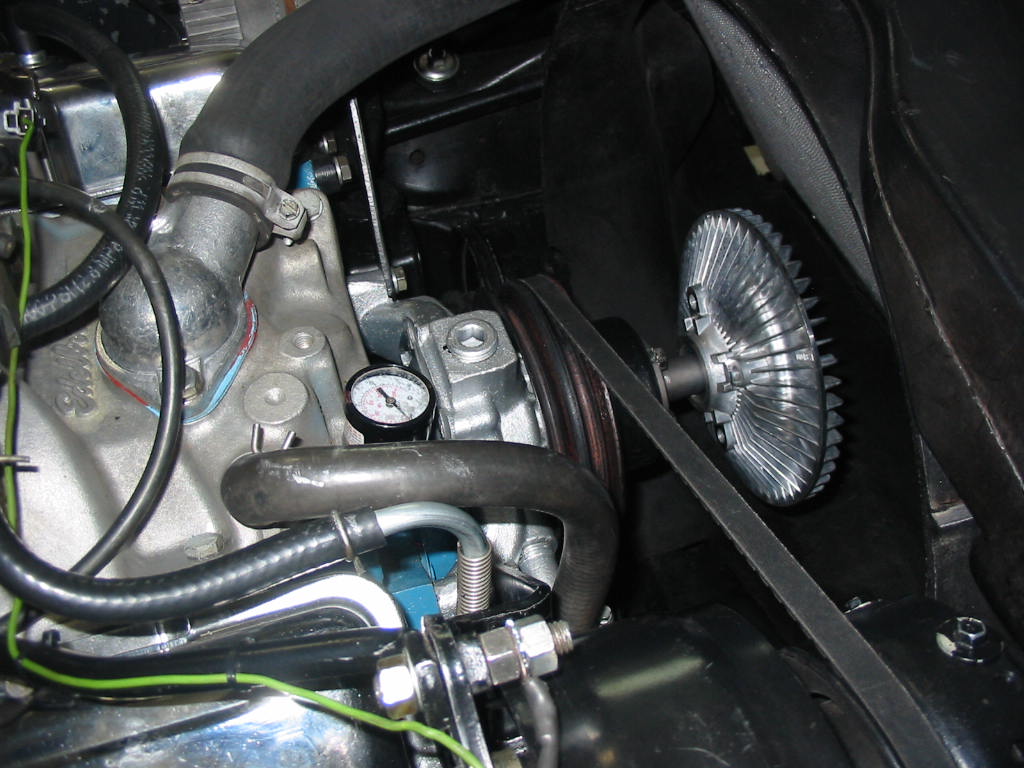
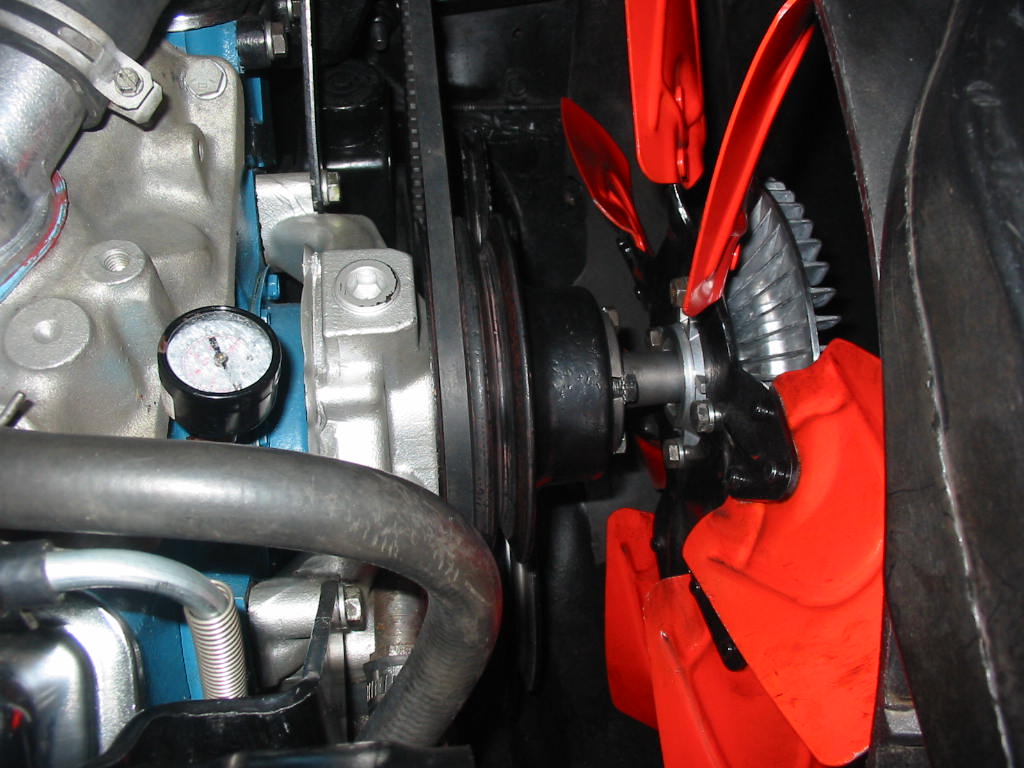
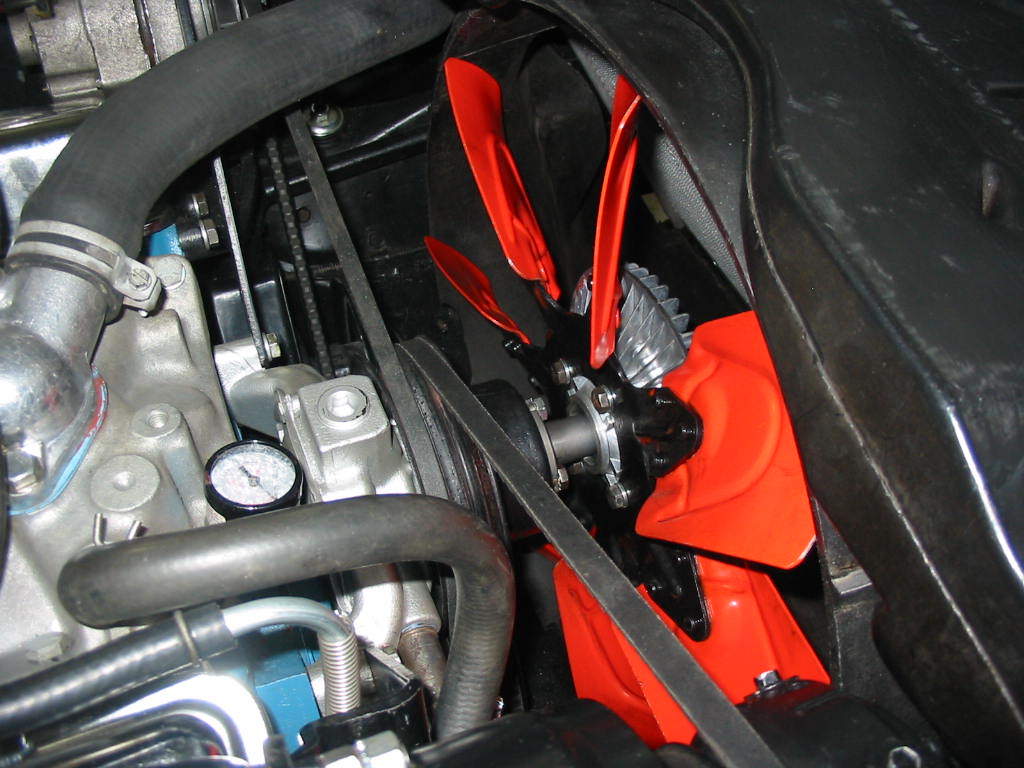
Nice new fan from Summit Racing. But sadly still no change in the harmonic vibrations. However it seems now that the vibration is more constant and only increases or diminishes at different engine speeds.
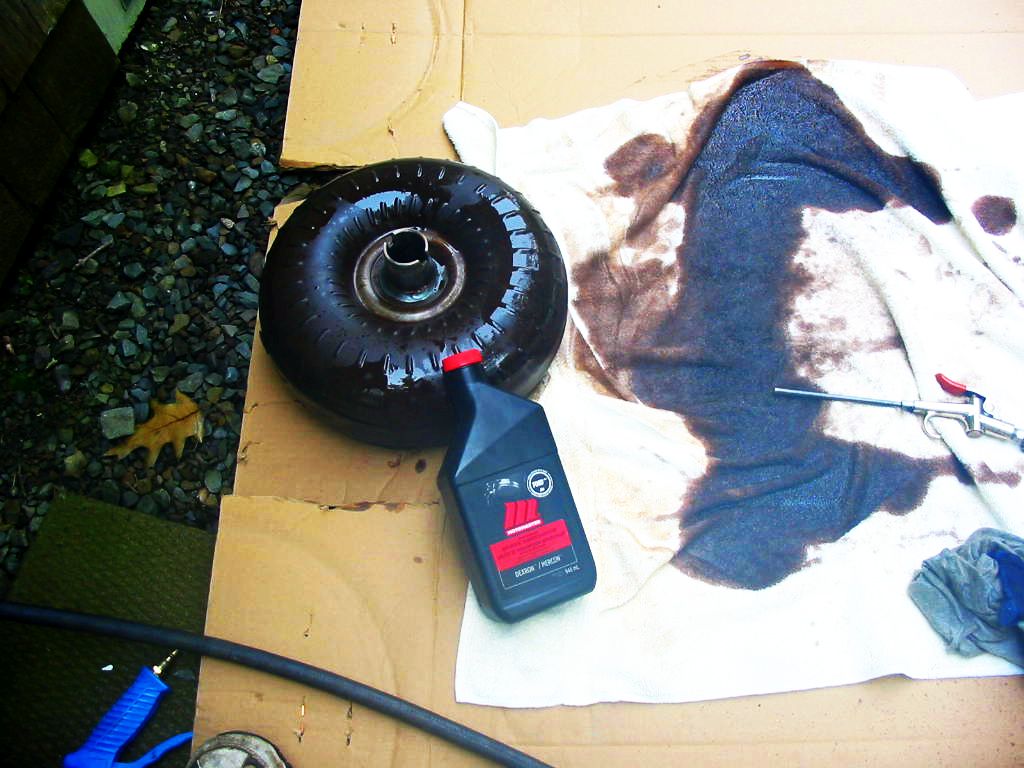
Meanwhile I decided to do a poor man’s torque converter flush. Holding the converter on it’s edge and rolling it back and forth and blowing air into the unit flushed it out. I found that I had to roll it quickly from one side to the other and lots of oil came out at the end of each roll. After getting out all I could I added about a 1/2 quart of Dextron and then flushed it out. I did that a couple of times so I’m thinking I got out most of the old oil. The towel I laid down to catch the oil was totally soaked by the time I was done.
Next: I’m just going to have to drive the car until I get a new idea to try. So far the replacements needed to be done anyway so that’s good. When they say that vibrations in a C3 can be hard to find, they were right!
Removed the AC and fan belts and found that the vibration was gone.
I connected up the AC belt and ran the engine with just the fan clutch in place – no vibration.
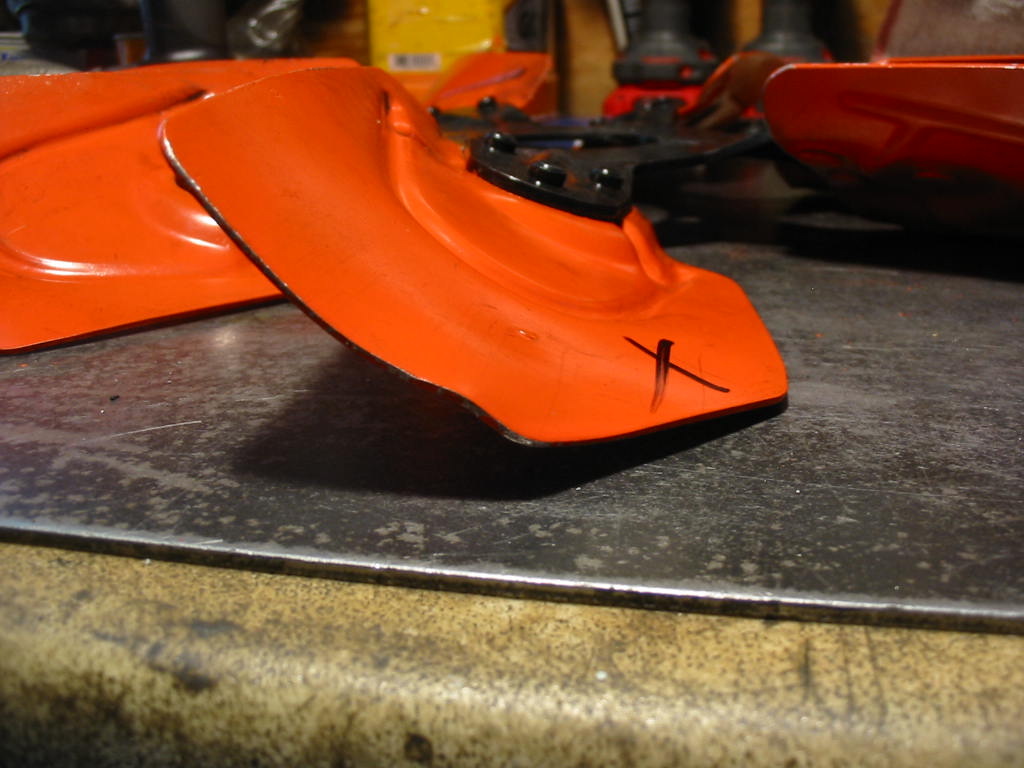
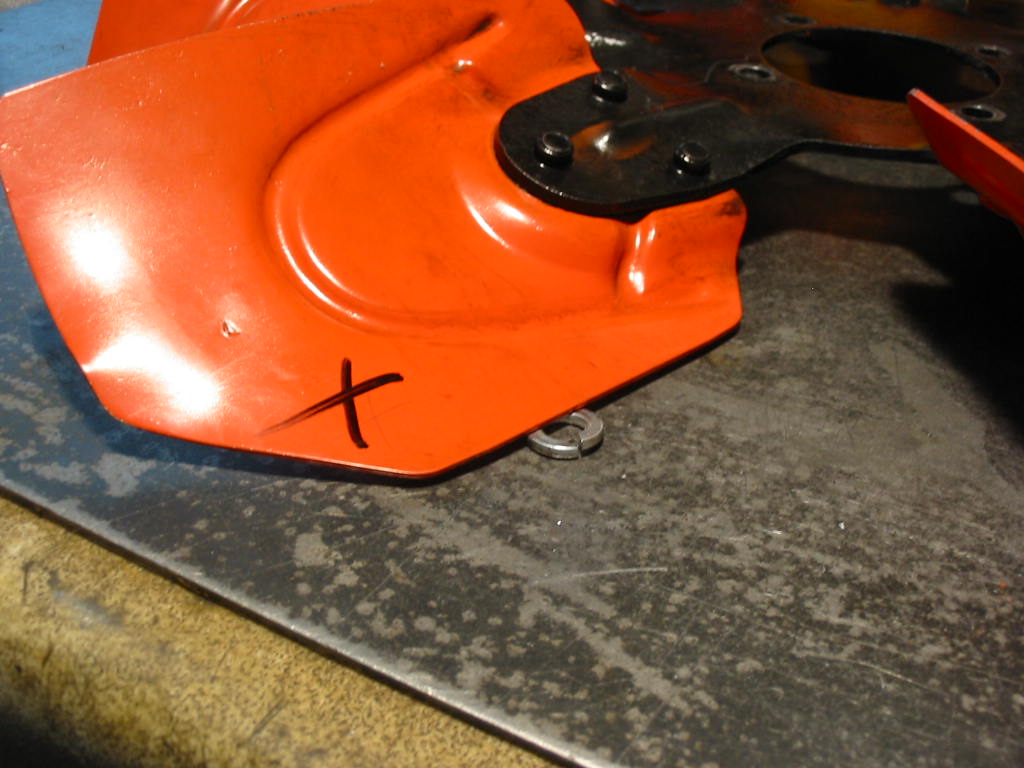
I noticed bend on one of the blades.
Also that blade was up at least an 1/8″ compared to the others.
Is this enough to cause the vibration. According to some references, yes. So I’ve got a replacement on order from Summit Racing.
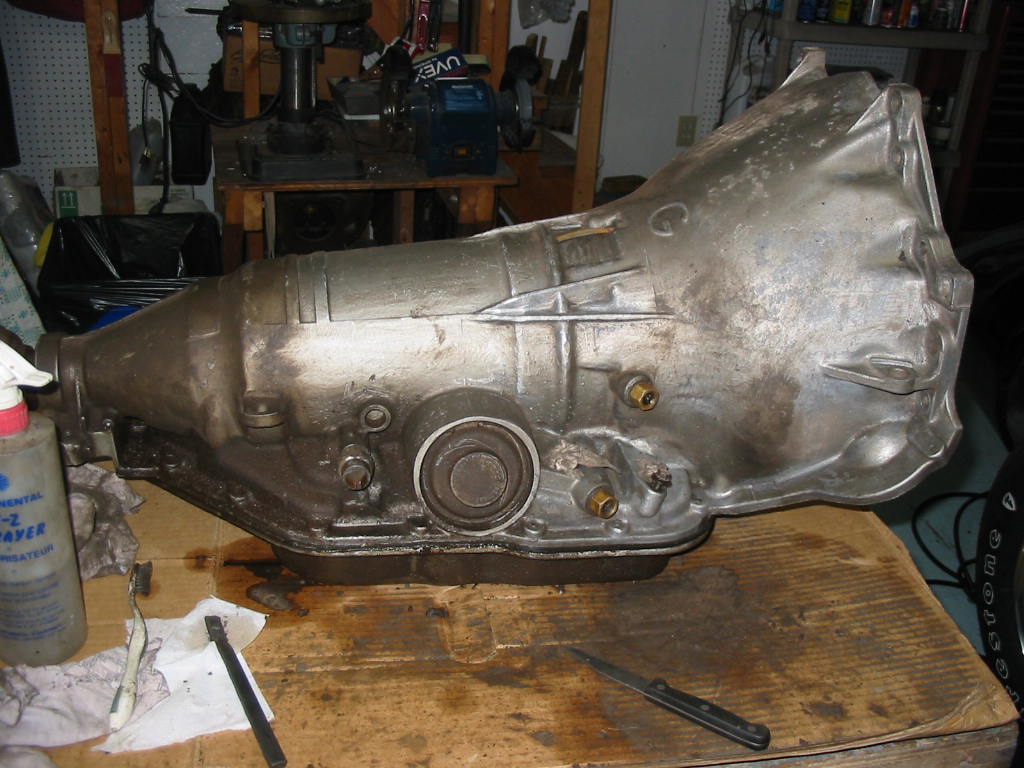
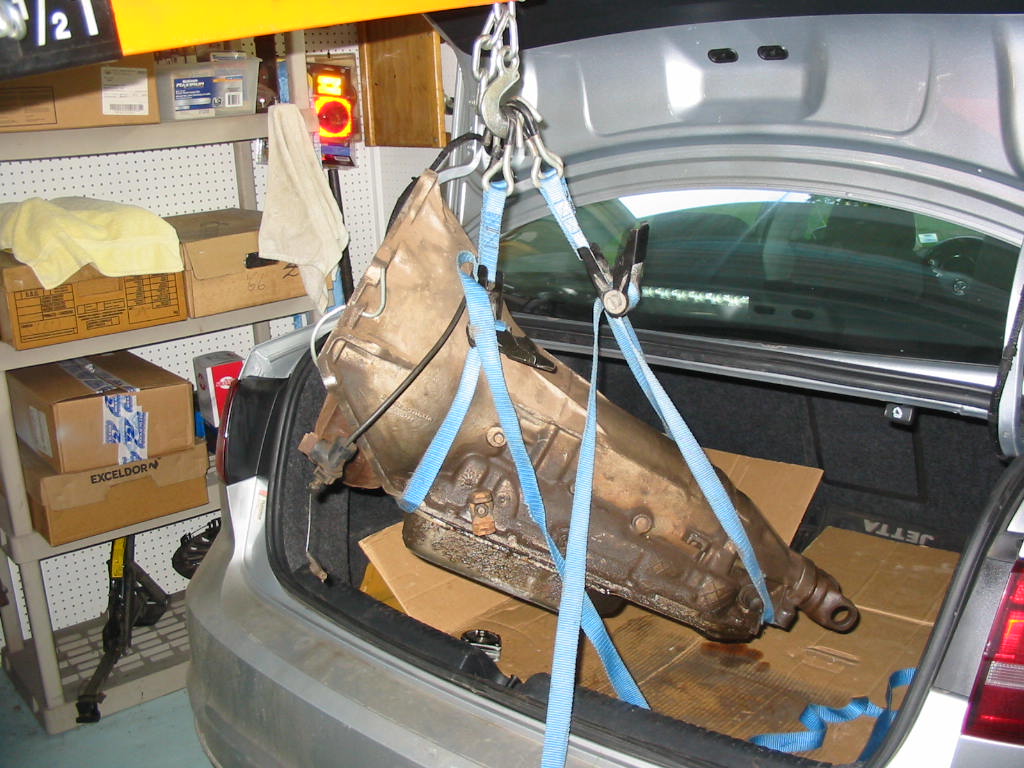
In the meantime I’m starting the clean up of the 200 4R that will eventually go into the Chevy. Lots of crud to remove. Earl D. a local trans man who will be doing the job and he appreciates not having to clean the outside before he can start the rebuild.
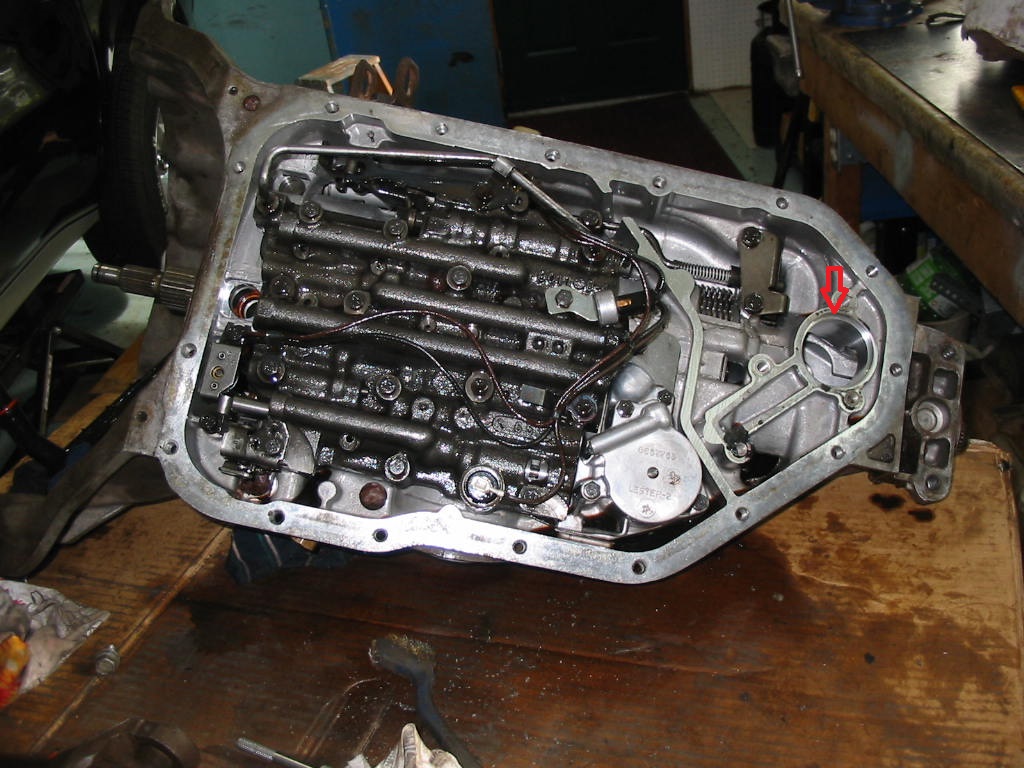
Pan off and I was hoping to find a paint daub or some other marking to verify what type of trans it is – the original tag on the outside is long gone. One thing noticeably missing is the governor and cover – red arrow. Contacted the seller and he will be sending me replacements from another similar trans in his stock.
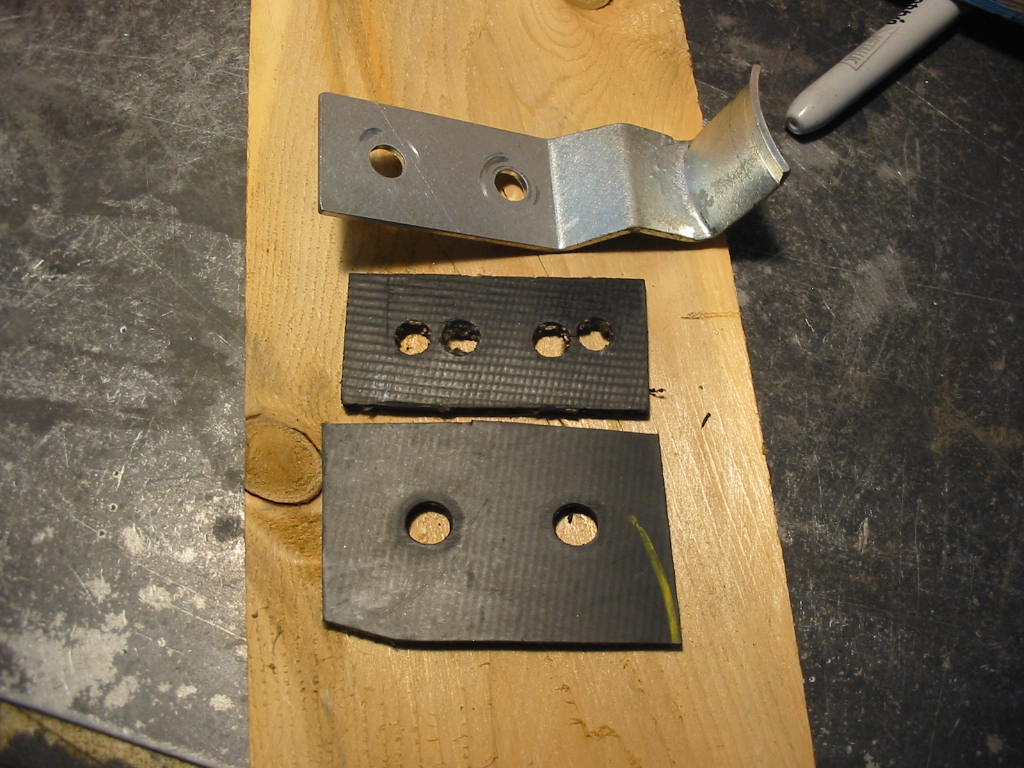
Another thing I noticed while under the car was that both holding brackets for the exhaust as it passes through the cross member were touching the cross member. Leaving no stone unturned I cut a couple of bigger re-inforced rubbers for the brackets.
Well insulated now, but no joy here.
In the meantime my new spark plug shields arrived. I had to install the left and right rears from the bottom. I could just get the front shield bolts in by feel. So no more burnt plug wires now!
Also while all this testing is going on I came across a couple of TH200 4R transmissions in PEI. This one I dragged home is out of a 1984 Olds Delta 88 an comes with a later GM CG6F torque converter. It has a stall speed of 1,400 to 1,600 rpm, but it will rise with a higher HP engine. They were used in the 350 engines.
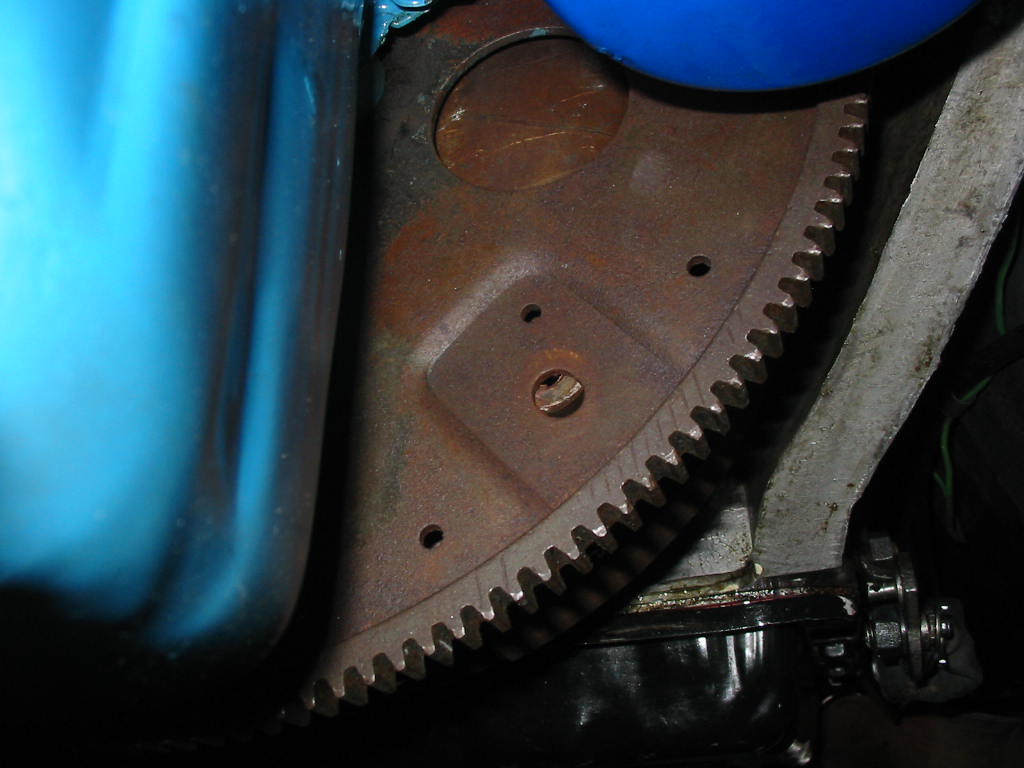
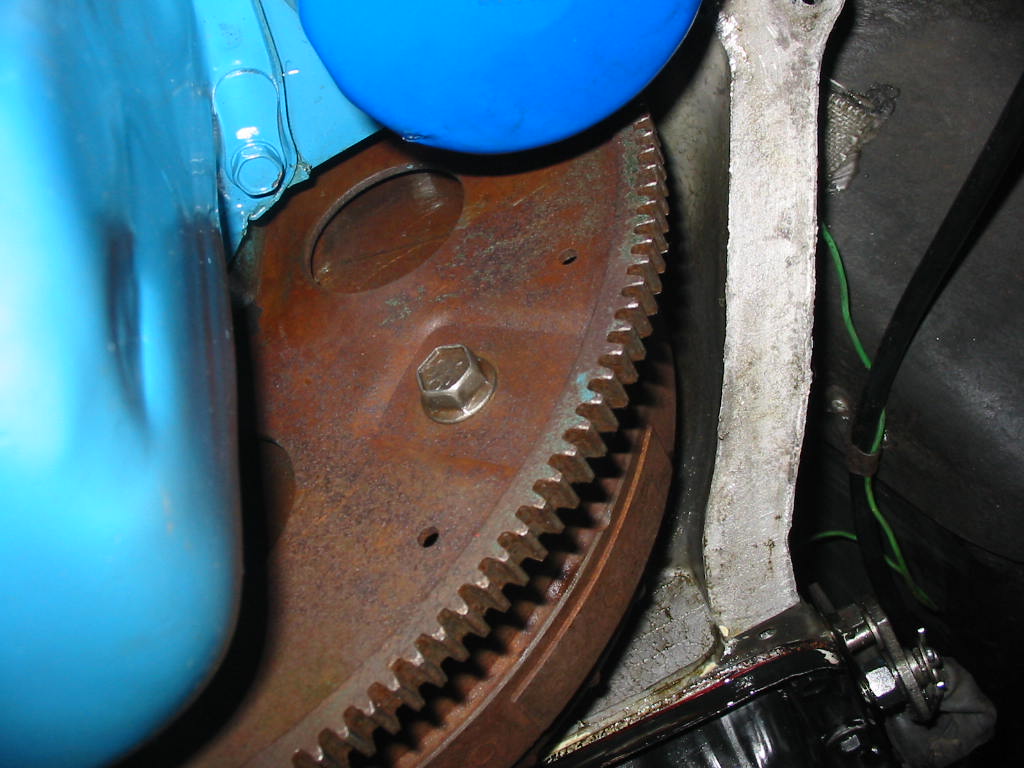
I disconnected the flexplate from the torque converter and used bright light to check as best I could (only a narrow space between the plate and converter). Couldn’t see any sign of hairline cracks around the crank mounting bolts. I would expect to see a hair line leading outwards from the bolts if there was a problem.
This is the mounting hole for the TH350 transmission that came with the car, but they can’t be used for the TH250c
There are three mounting holes on the plate that can be used for a TH250C. My research indicated that this flex plate can be used with both types of transmissions. I bolted the converter to different holes and also pushed it up before tightening the bolts as the converter sags down when it is released from the flexplate. Not sure if that will help, but I need to correct every possibility for vibration.
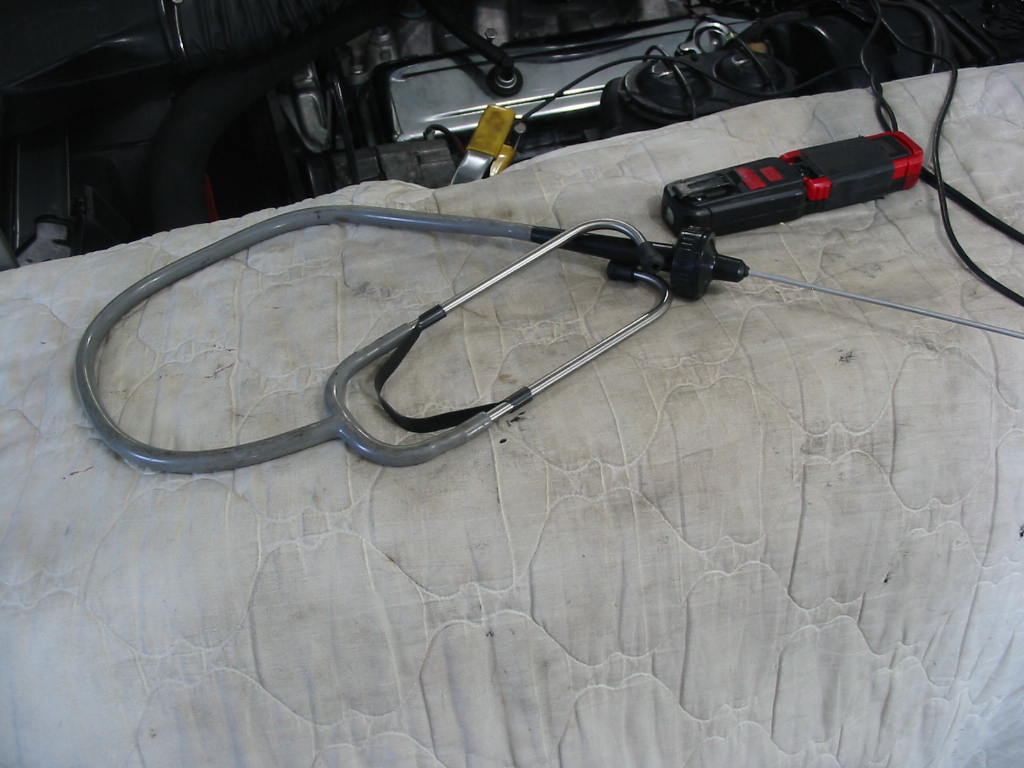
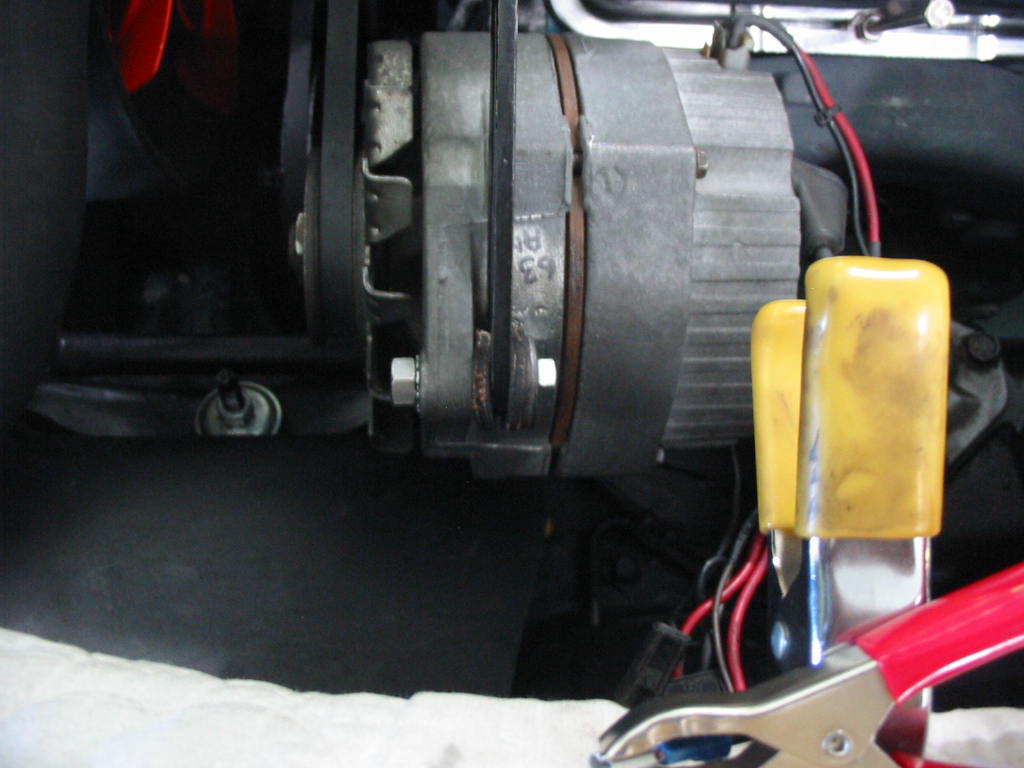
Using my engine stethoscope I seemed to hear a noise in the water pump and I noticed that the alternator bracket was vibrating.
So I swapped the alternator for one I had rebuilt and was on the shelf – but no joy here.
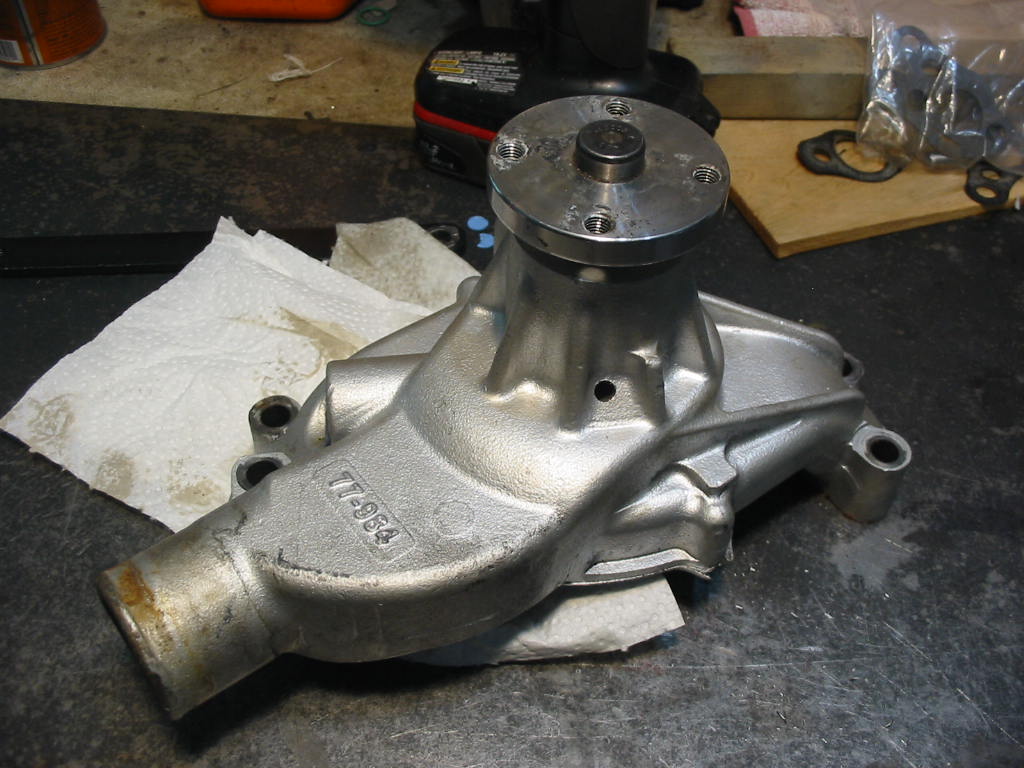
So next was the water pump. The pump bearing was a bit rough and had s bit of sideways movement.
New water pump, but again no joy. Still the old pump was on the way out so nothing lost there.
The repair to the harmonic dampener – a new unit for $100CDN -changed the sound and duration of the vibration, but did not remove it. So it looks like a two part problem and something else is causing vibration also.
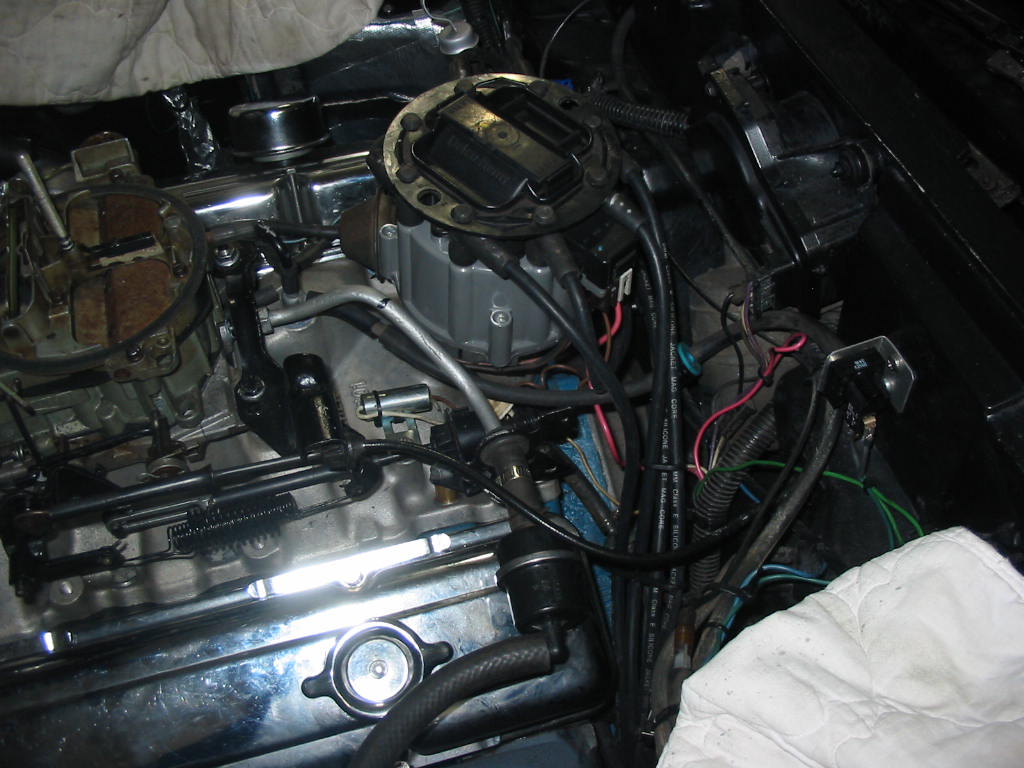
Time to eliminate all possibilities one at a time. First some references say that a faulty dist. cap with a hair line fracture or wires inducing a charge in an adjacent wire – especially between 5 and 7 which fire after each other – can cause vibration.
So off with the cap, but no apparent cracks. There is a smear of oil on the inside and maybe that is allowing spark to jump. Best solution – replace the cap and rotor. I made sure all the wires had 1/8″-1/4″ of spacing wherever possible.
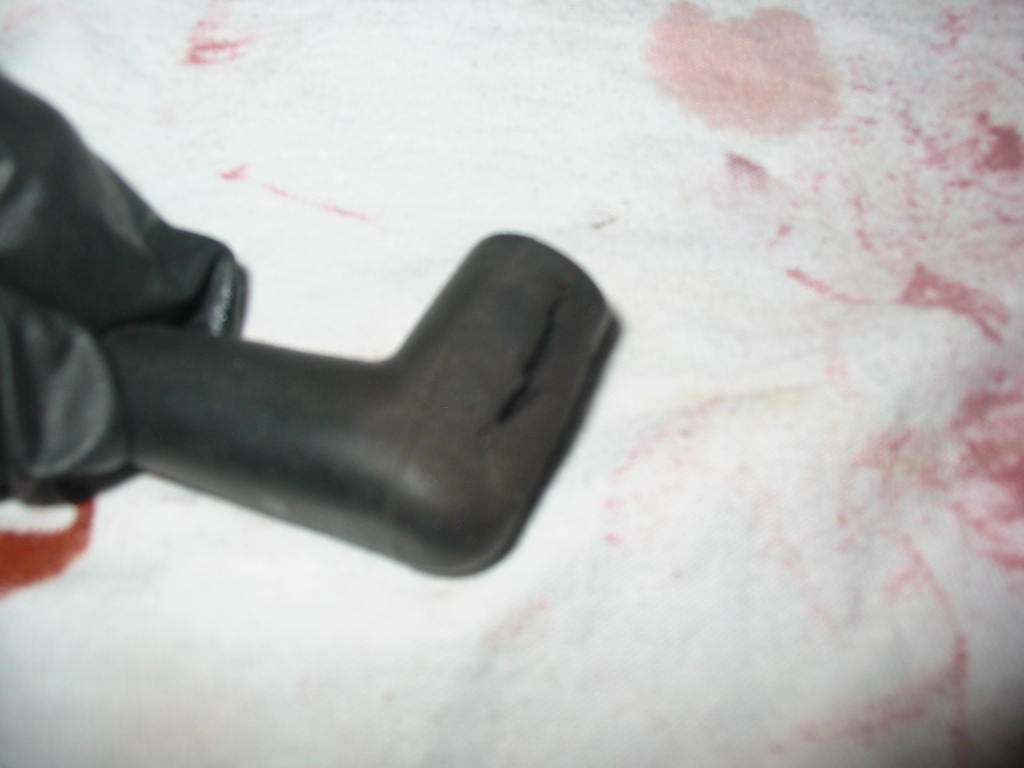
That done I pulled all the plugs to see if any cylinder was not burning clean. #5 was not all that clean and it had a cracked boot. This was a new wire set.
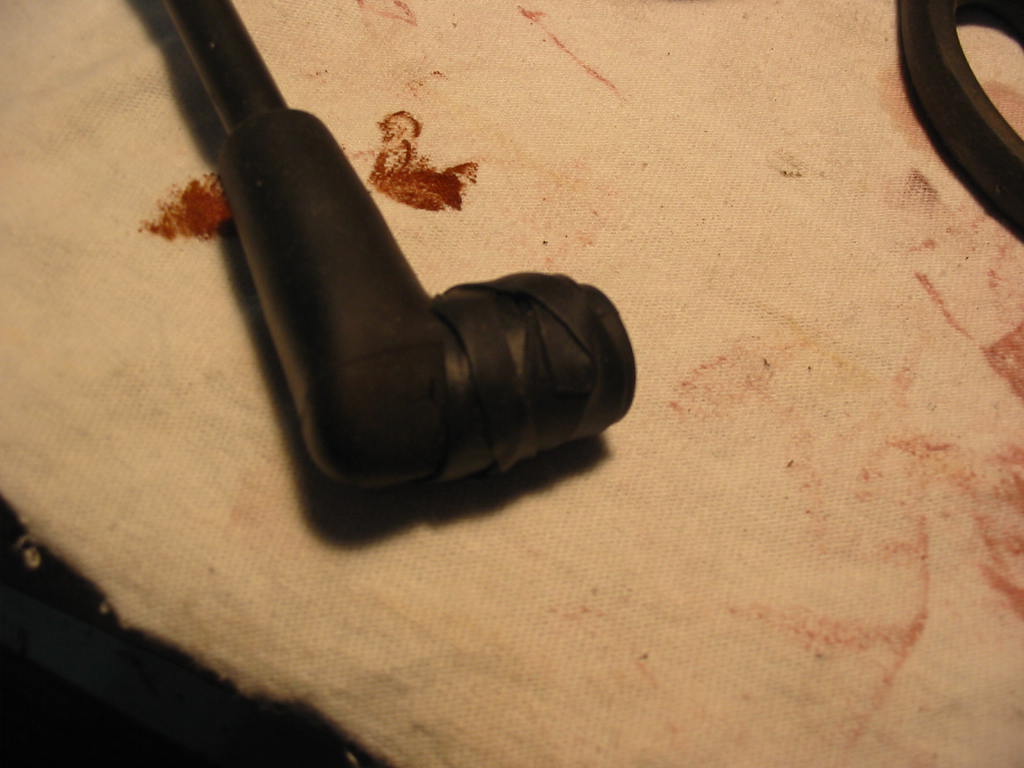
I’m planning on buying a set of wire wound anti-static wires so I just used some special electrical tape that bonds to itself and wrapped up the plug. #6 plug was also damaged some so I wrapped it as well. A good argument for keeping the spark plug shields in place. The originals had rusted off and I didn’t replace them. I now have a set on order!
Next: After a short test drive there was still no improvement. I did check the flex plate, but I couldn’t see any cracks around the torque converter attaching bolts. Next I’m going to pull the inspection cover, detach the torque converter and push it back into the trans and have a good look at the bolts holding the flex plate to the end of the crank.
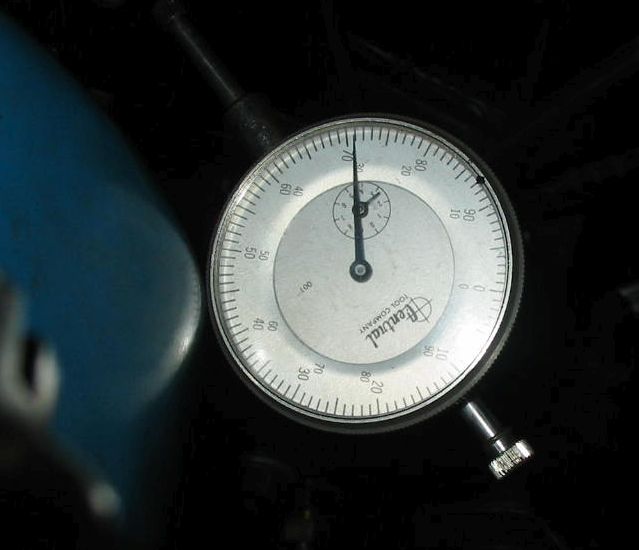
I got the Chevy jacked up and went under to check the dampener and flex plate. Couldn’t find anything wrong with the flexplate, but happened to notice a slight misalignment between the inner and outer rings on the dampener. The outer ring appeared to have moved
forward on one side. So I checked on line and found that the sort of misalignment is OK if it is .010 or less. Here’s what I came up with and that was measured sideways on the dampener – the real reading should be even higher!
I think the noise source has shown itself. According to an AI search result this type of problem will cause the sound I have between 1500 and 2200 rpm.
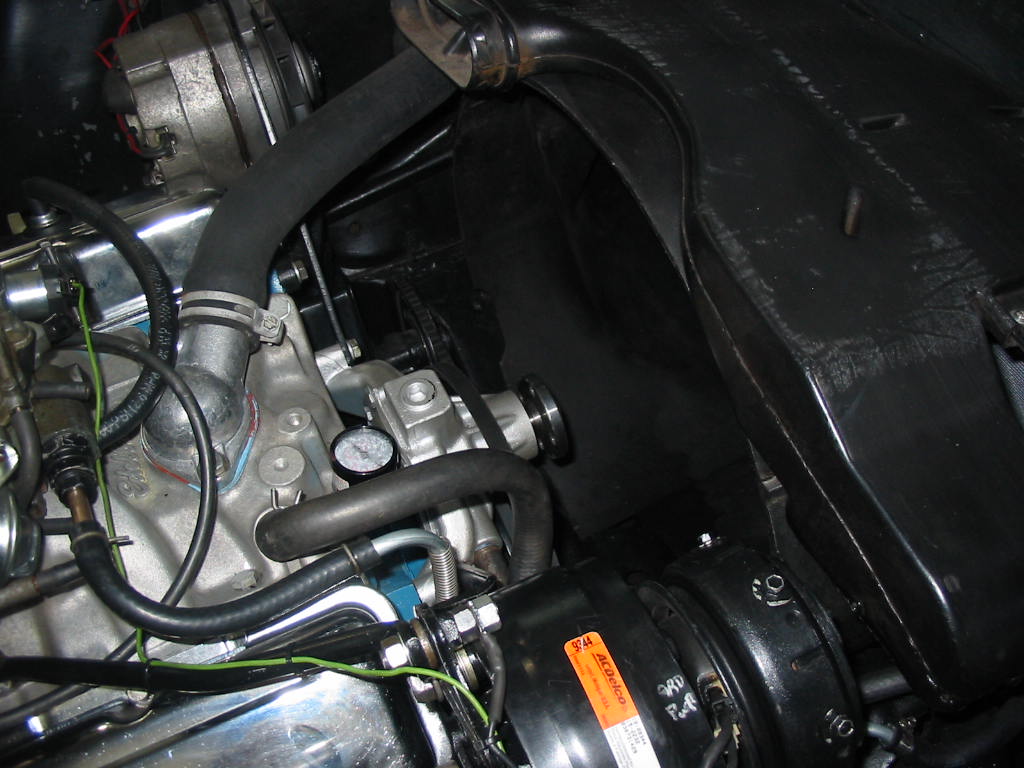
Fan and water pump pulley off and I’m going to try and replace the harmonic dampener without and taking the hood off or the rad out. We’ll how that goes. I expect to be using lighted mirrors to see what I’m doing!
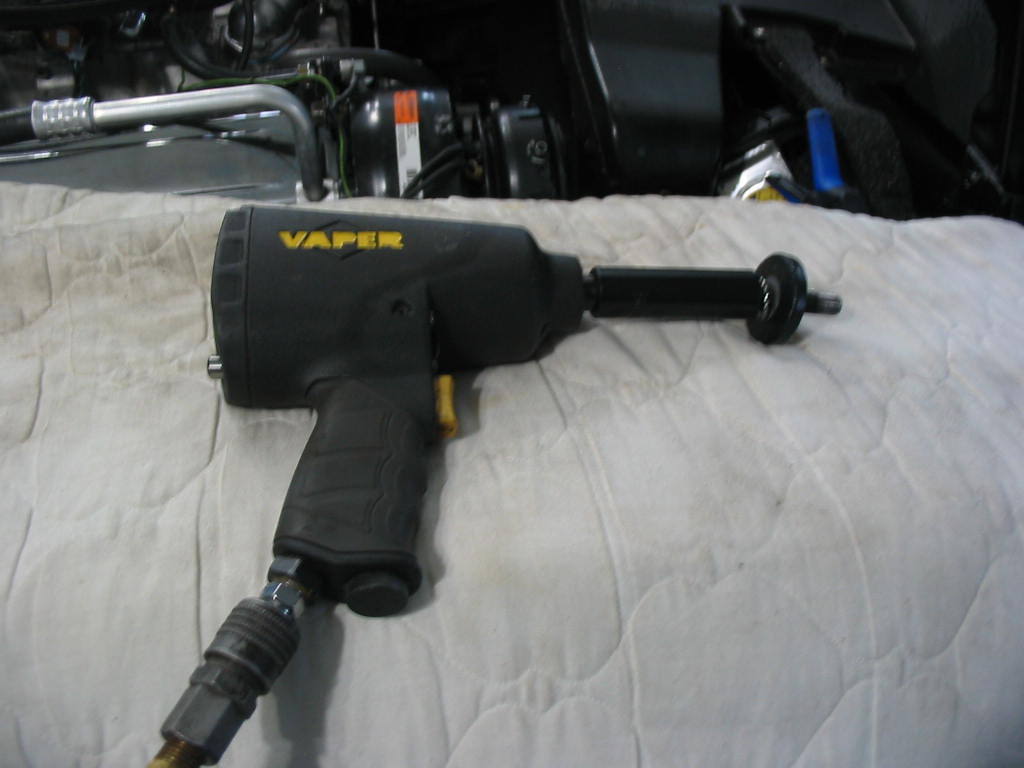
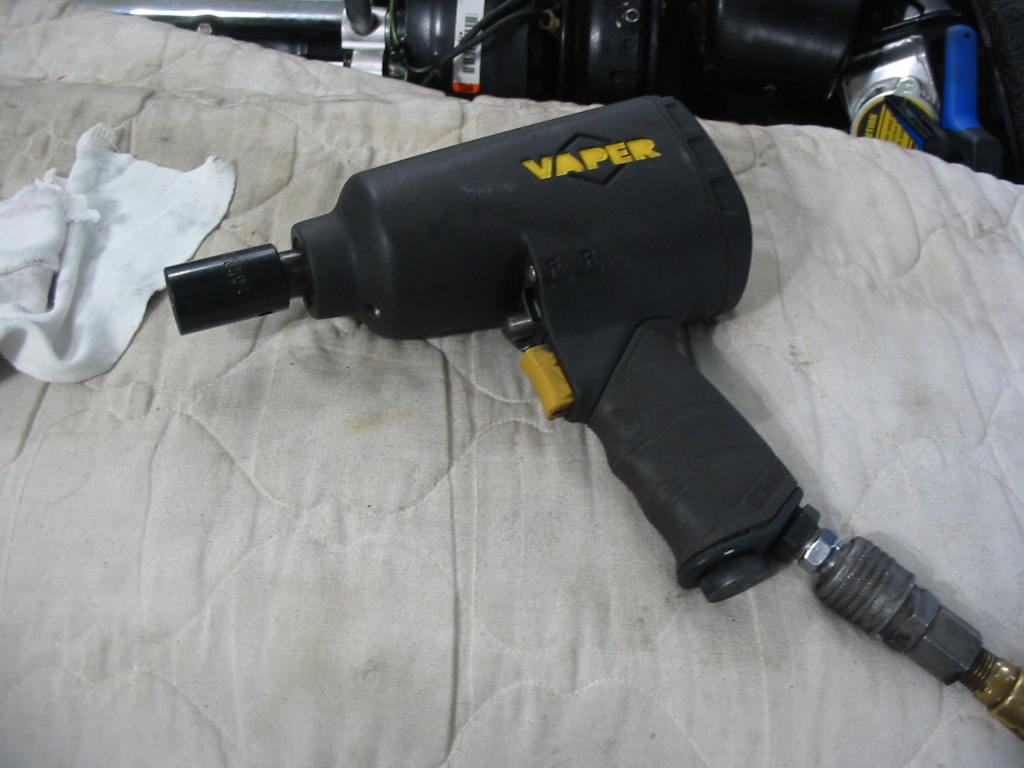
The impact wrench is perfect for removing crank bolts when you can’t hold the engine from rotating.
Pulley’s off. Had to get at the bolts by feel. Not too hard and there are only three of them. Also the crank didn’t turn when I took them off.
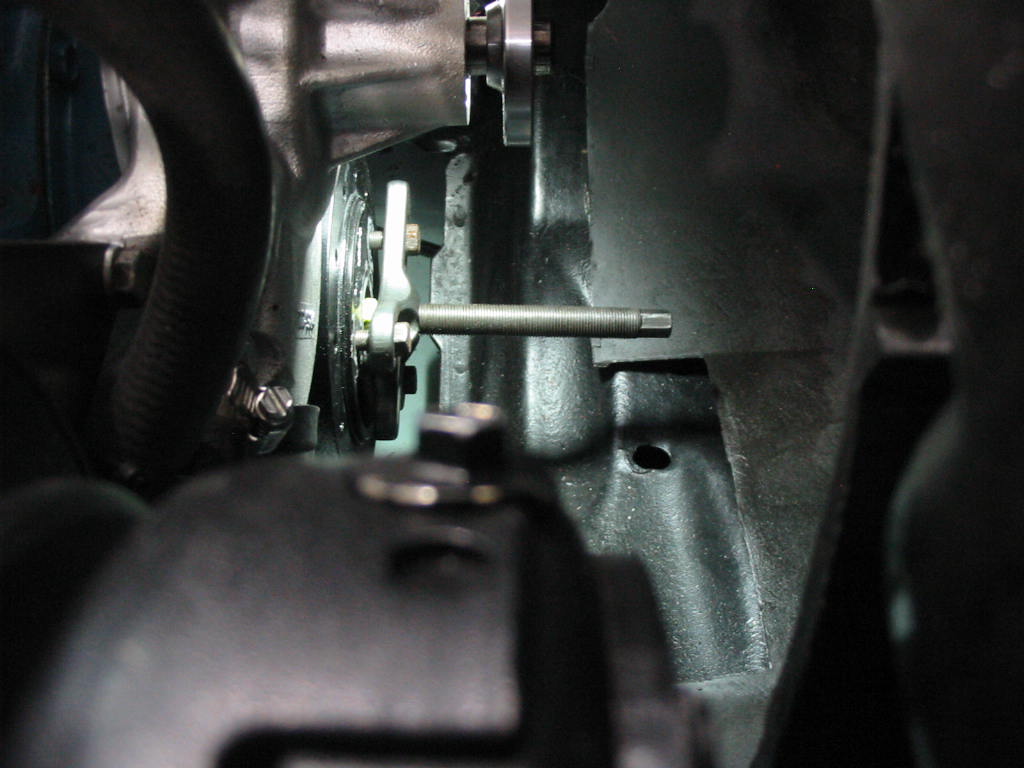
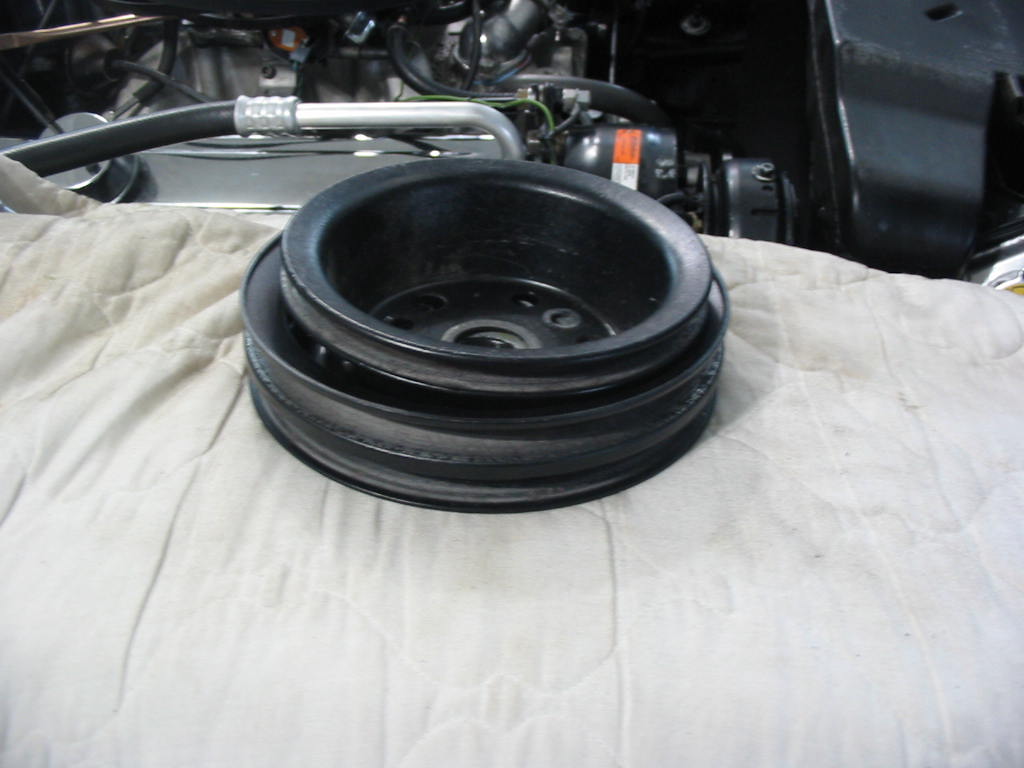
A three arm puller in place to pull off the old dampener.
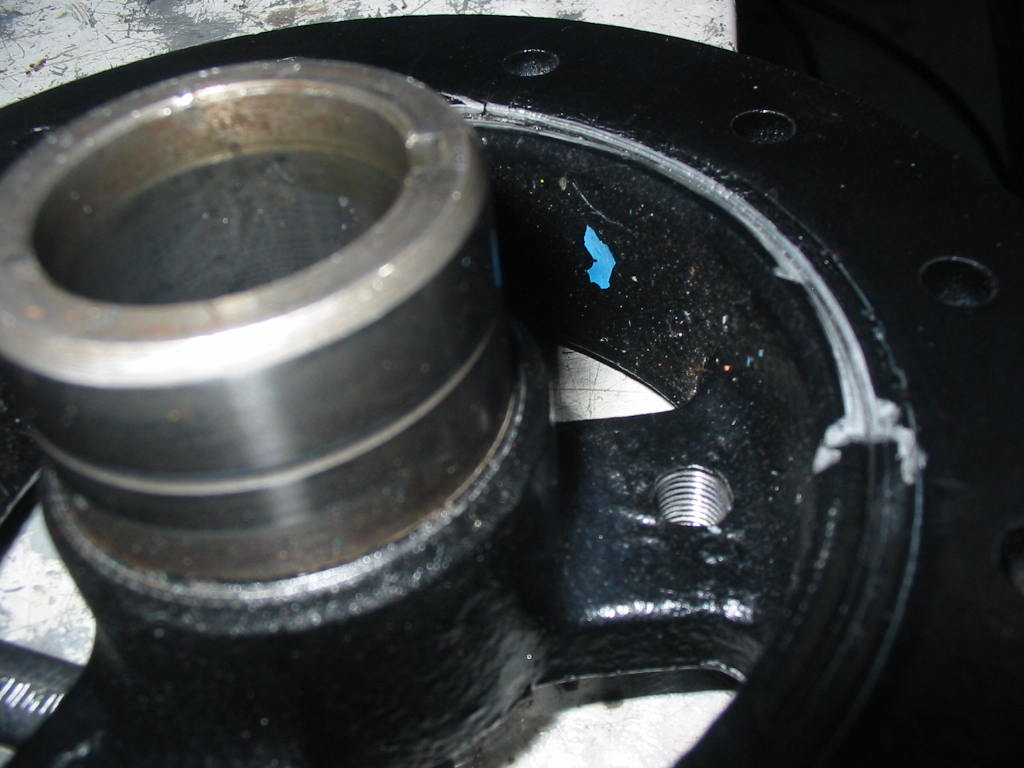
With the pulley off it was easy to see where the outer ring had moved forward by at least 1/16″
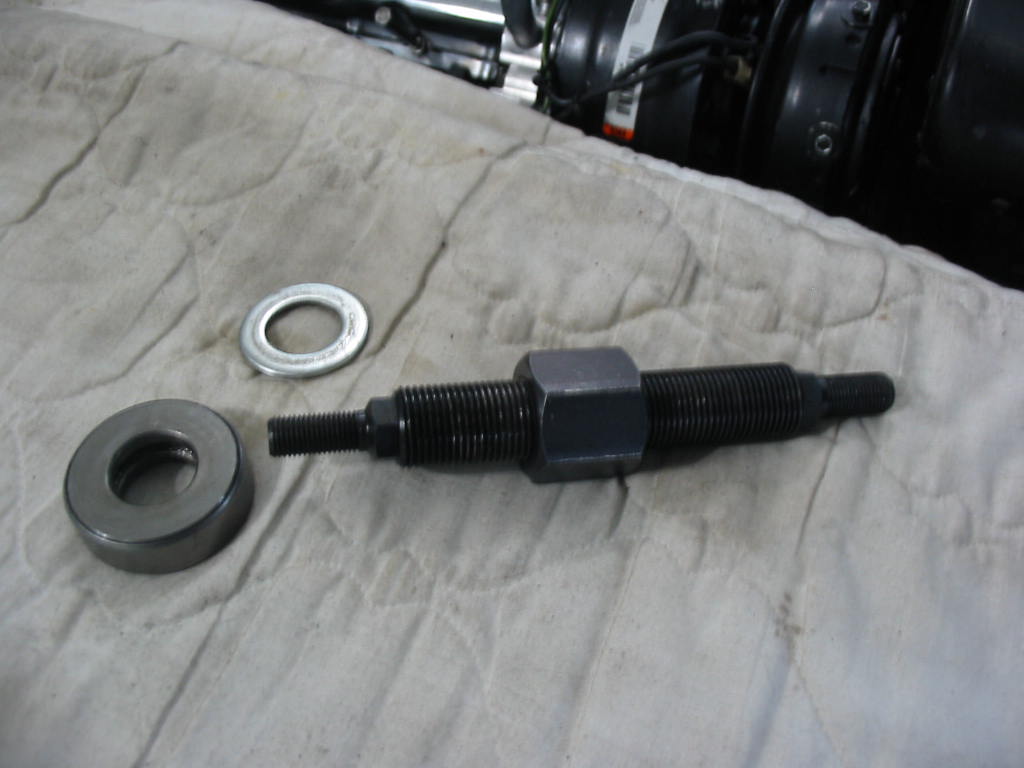
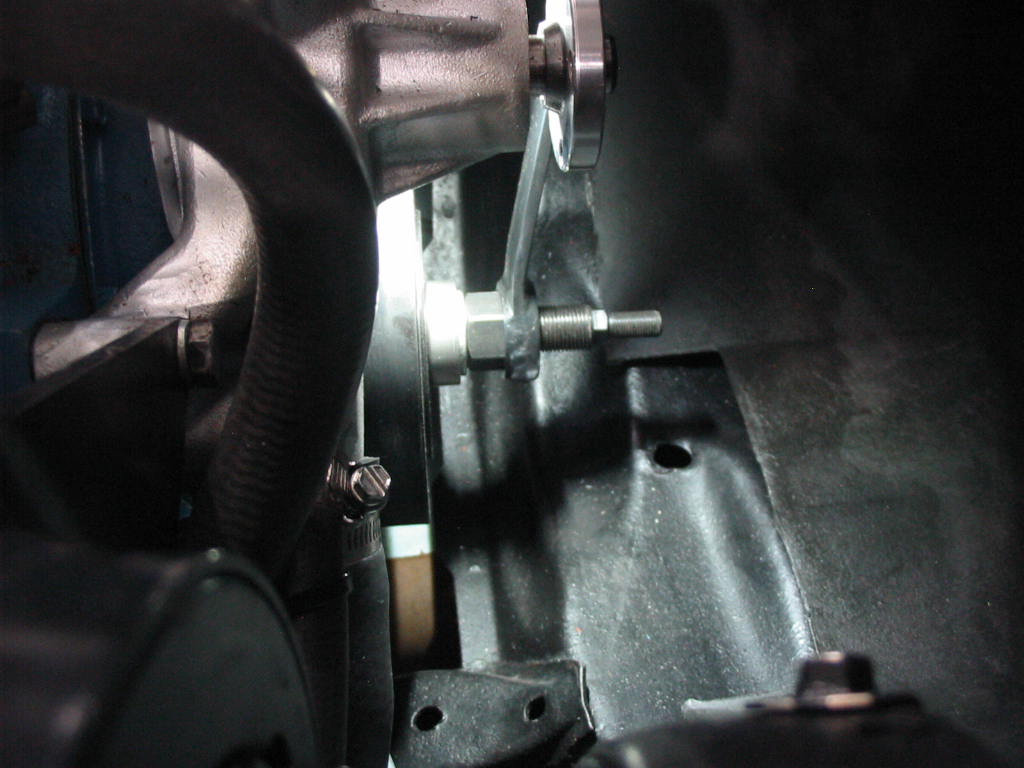
The proper balancer installation tool was a real asset in getting it on with the engine in the car. It needs a 1-1\16″ very deep socket to use a ratchet. Not being a professional I don’t have e such a socket. I had to use a long wrench that I could only move about 1/3 of a turn each time. Took a bit but the dampener finally seated itself.
It was a bit of fun getting the pulley bolts on , but at least I was able to torque them and the engine didn’t rotate. Not so with the crank bolt so I snugged it up and then used a couple of short bursts with the impact wrench to set it firmly in place. I also used lots of blue thread lock and a shake-proof washer.
All back together and I’m happy to say the vibration appears to be gone. I’ll only be totally sure after a test drive – if the rain will only stop!
Next: Hopefully I can now enjoy the final break in trips and then on into the last of the driving season 🙂
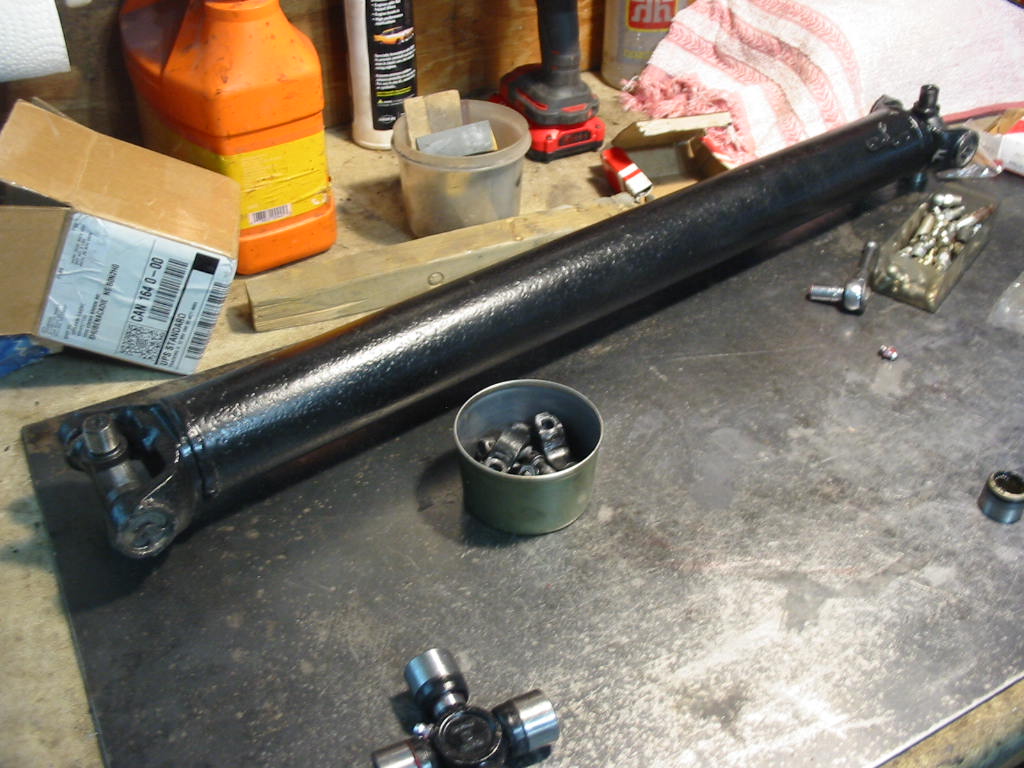
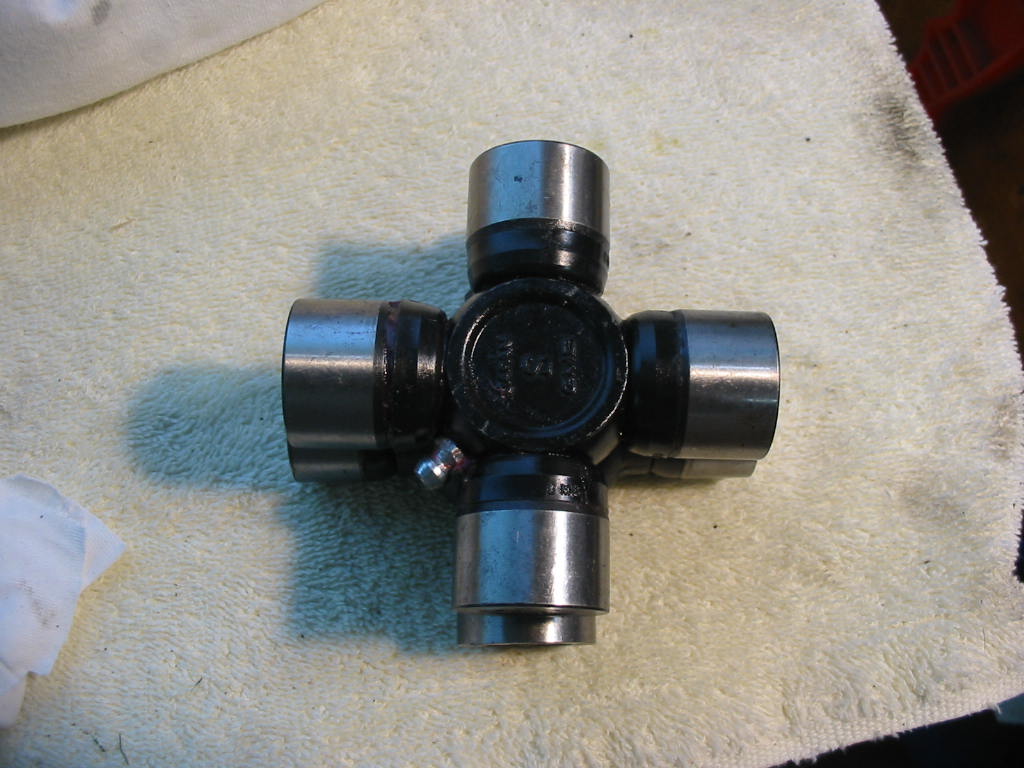
Or at least I hope that it is universal noise that I’m getting between about 2100-2400 RPM. No choice but to replace both universals as I don’t know which is the problem and I don’t want to do the job more than once.
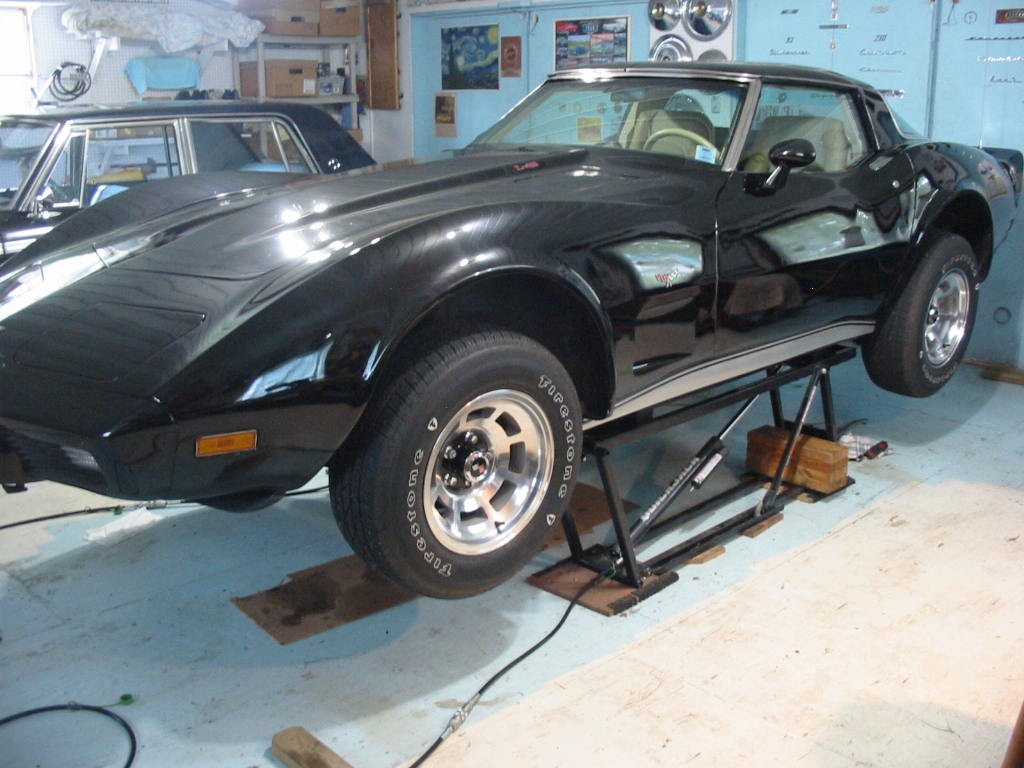
Chevy back up on the Quick Jack – the tool is getting lots of use.
Drive shaft out again. Always a bit of a pain as I forget the free the rear universal before going on to the front. That way the universal at the front isn’t flopping around as you turn the shaft to get at the 11mm rear bolts. I used lots of Locktite on the bolts so that had to been cleaned off using the wire wheel.
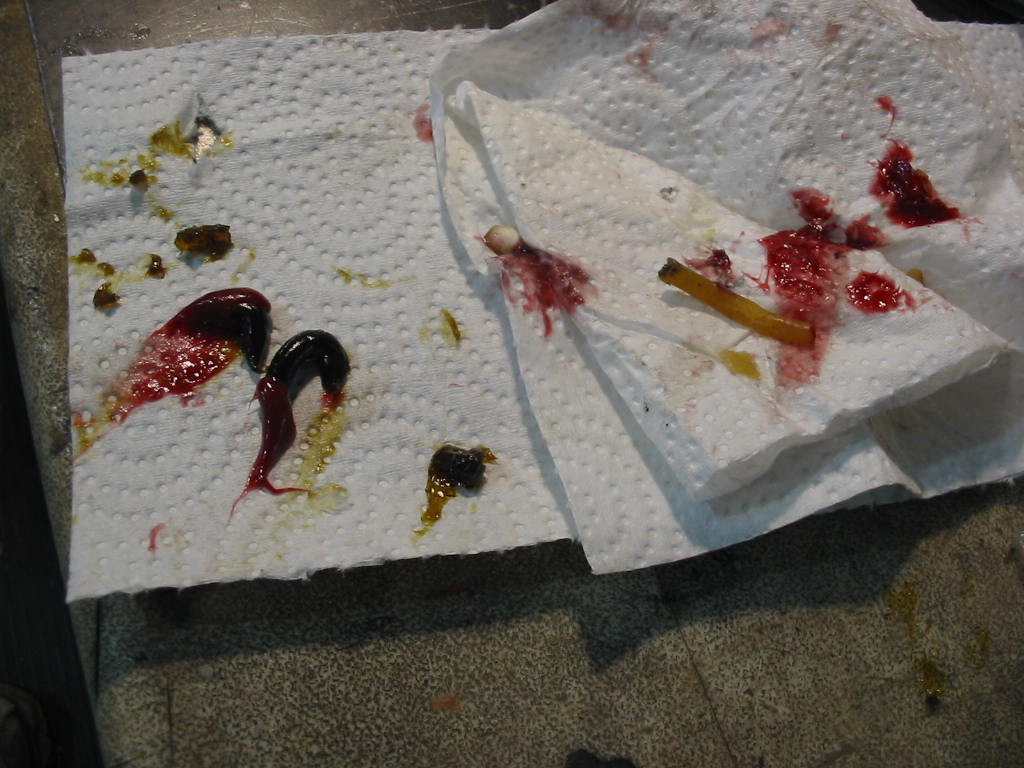
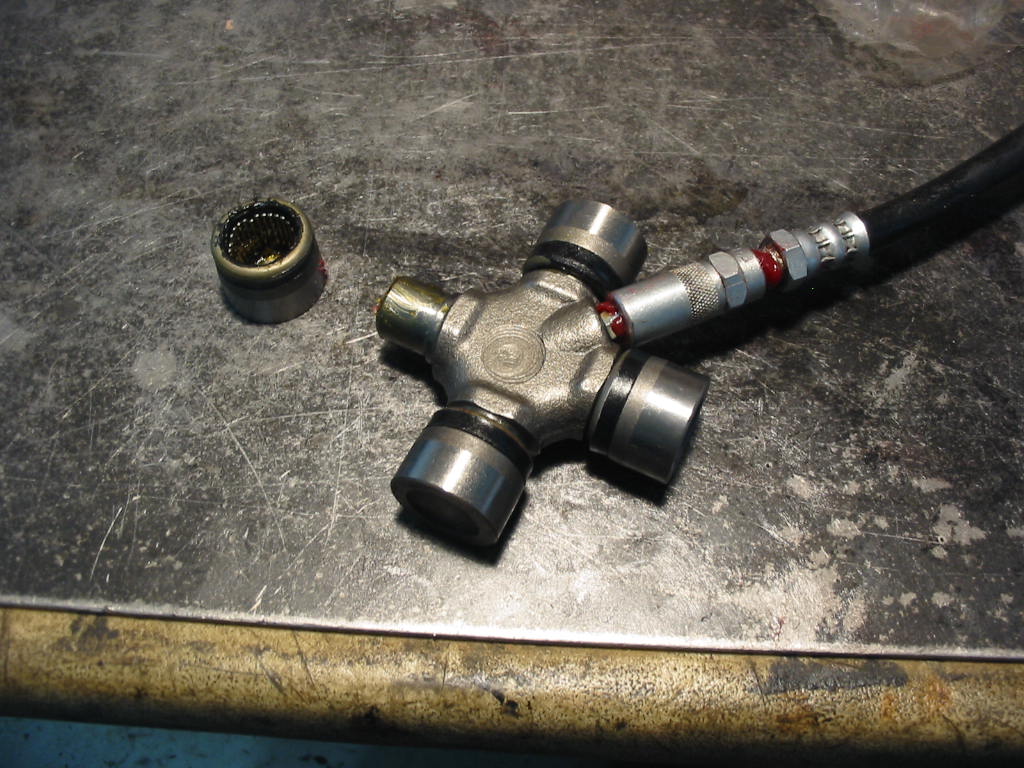
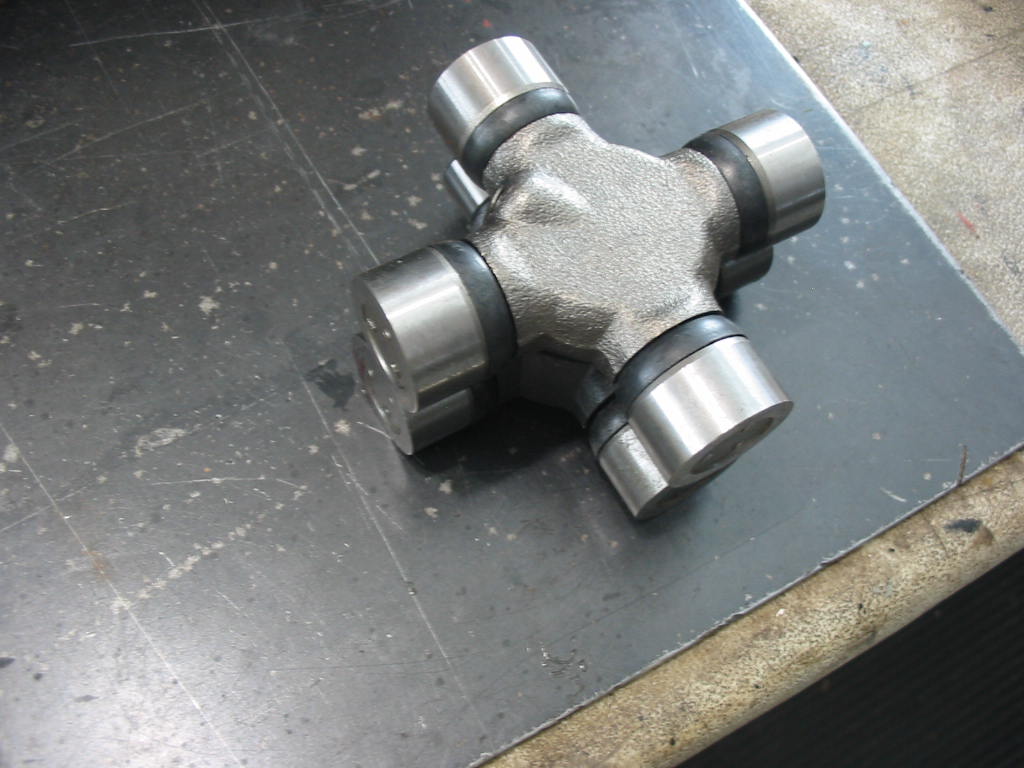
When I removed one of the caps on the new universals I found that the grease inside was semi solid from sitting around on the shelf. I bought these from a Canadian Corvette supplier so I expected them to be A-one. Not so one had a tan coloured grease and the other black. I pushed new red grease through each arm in turn and then filled the cup.
These are greaseable units – I expected to get non-greaseable permanent units, but these came instead. Not a big problem with the driveshaft as it would have been with the short shafts. I don’t remember replacing the grease in the permanent units I had put on the car. Old hard grease might have been the problem that is causing the vibration.
Turns out I got the wrong u-joints. They are too short. I needed the ones with the longer cross shaft measurement of 3-5/8″. So they’ll be returned and I’ll pick up two from the local CarQuest shop.
The MOOG #354 units are the same as the old ones – 3-5/8″ cross shaft and 1-1/16″ caps. The instructions on the box lid in one case and in the box itself in the other, says that the bearings must be greased before use. There is a bit of assembly grease in place which would work for a little while. These instructions need to be more noticeable or a small paper insert with the directions wouldn’t go amiss.
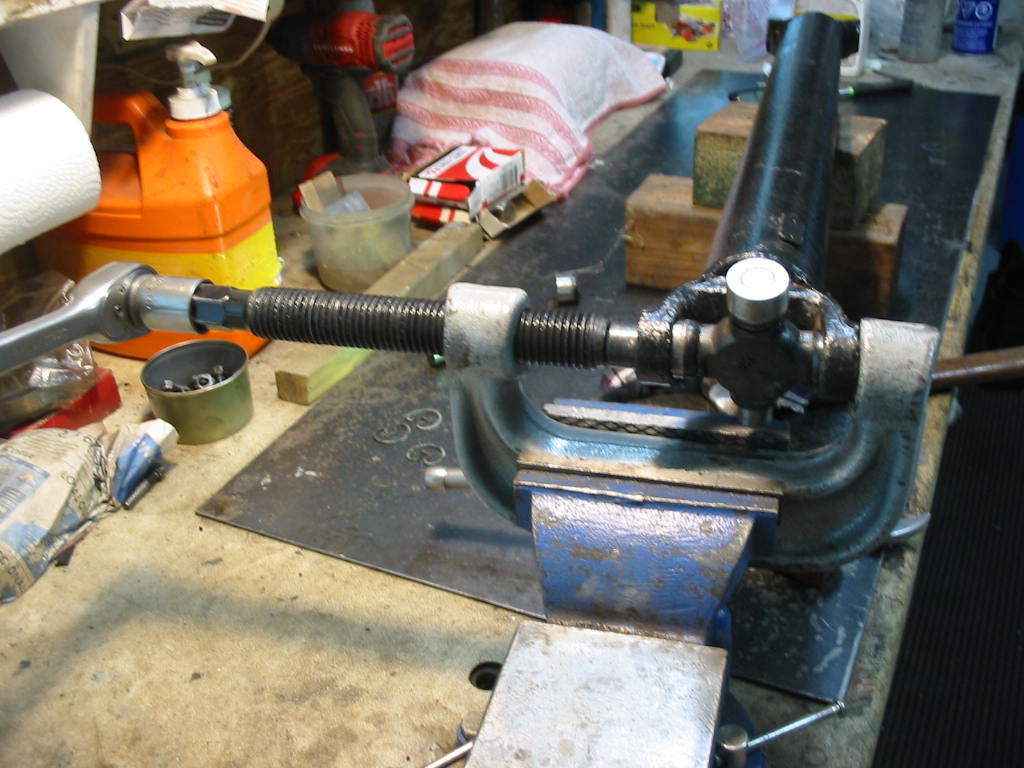
Using the handy tool I borrowed from my pal Don to get the old bearings out and the new ones in. Works a charm.
New bearings in place, OK but the rear one is very tight. I suspect that the yoke is bent. If that is the case then that might have caused the bearing to fail prematurely.
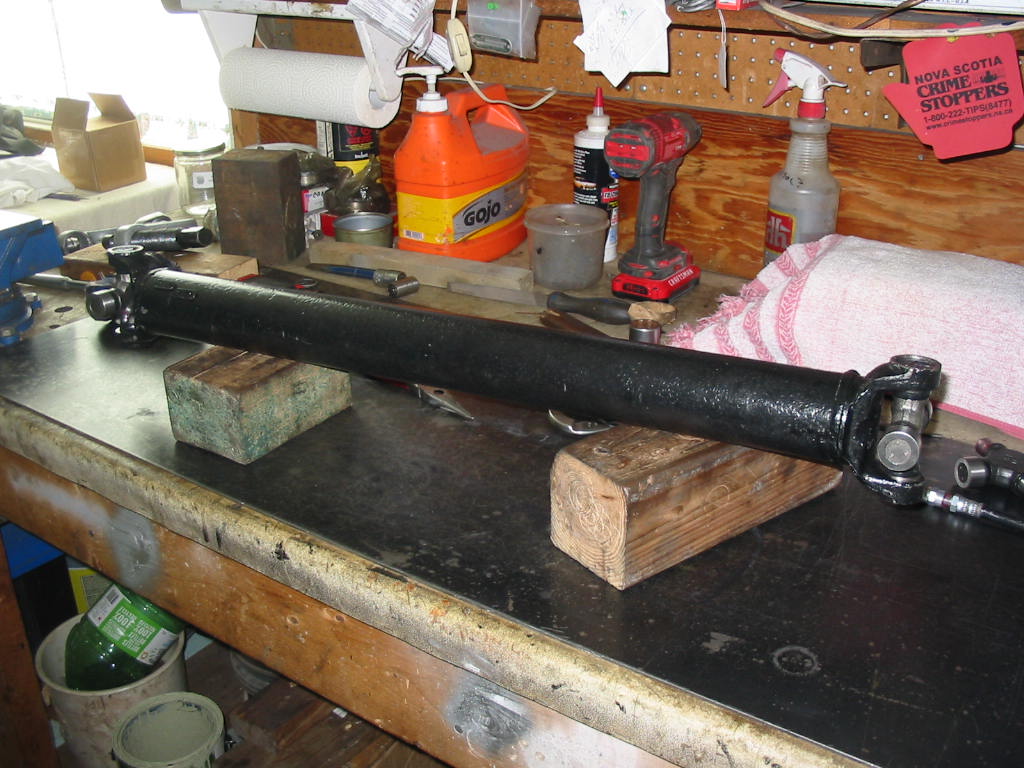
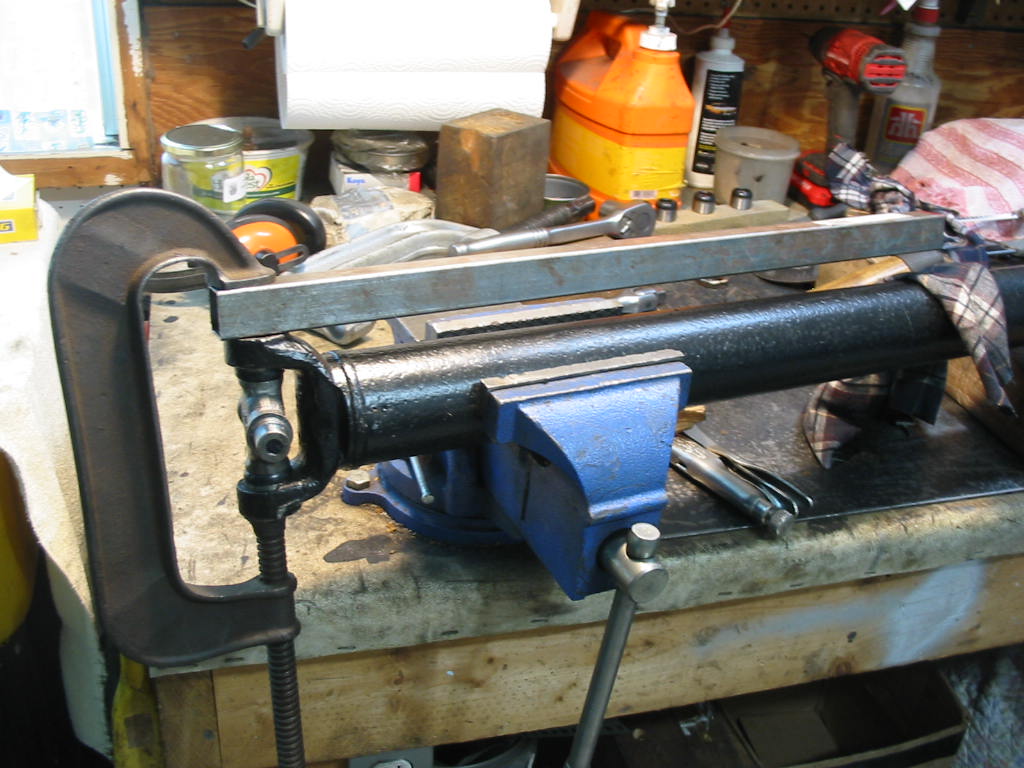
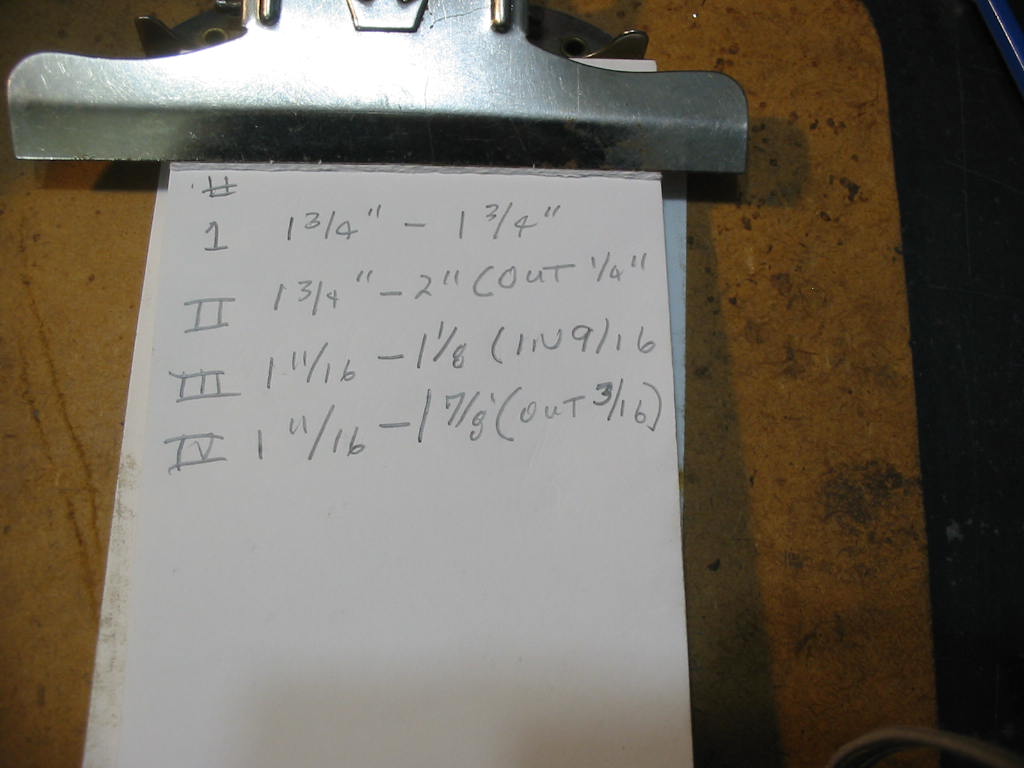
This is the setup I used to check to see if the yokes were bent. I measured at the yoke end and then at the far end.
Only one yoke are was in a straight line with the driveshaft tube. The others need bending.
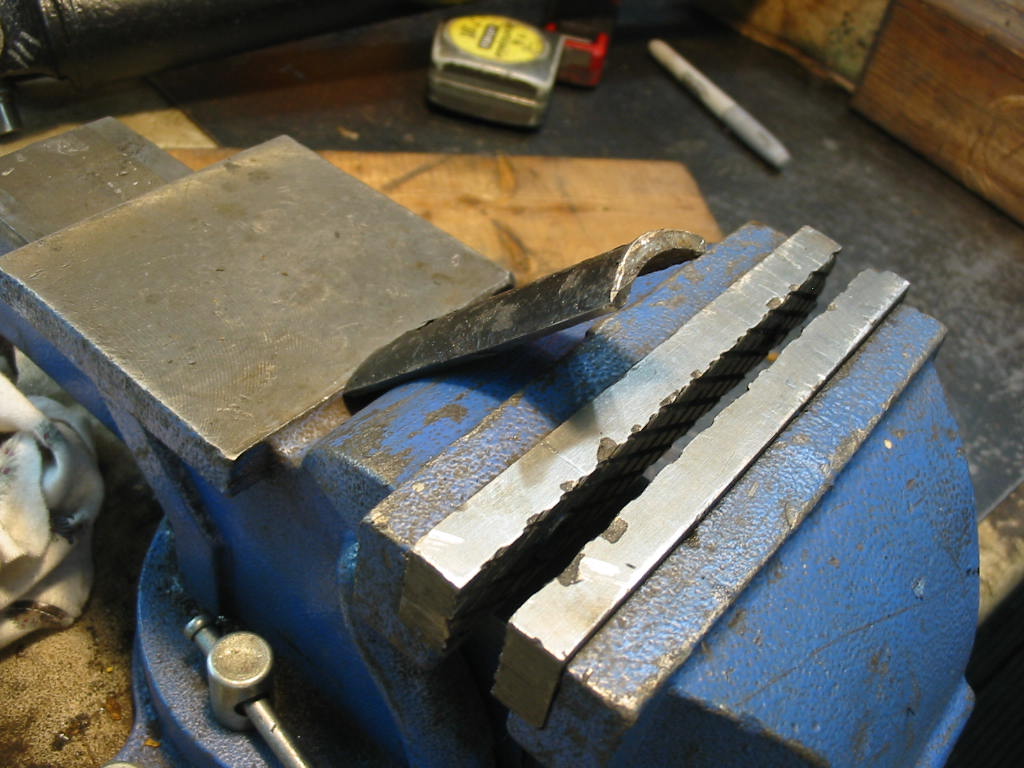
I didn’t want to remove the universals for fear of damaging them so I cut a piece of 1-1/4″ steel tubing that I used to rap the inside of the yoke arms to move them outwards and I used a short length of full 1-1/4″ pipe to rap the outside of the arms to move them inwards
I managed to get them all within 1/32″ at the far end of the square bar stock and the driveshaft tube.
Put the unit back in the car and went for a test drive. NO JOY! Still the same grinding vibration at about 2100 rpm and a bit around 1200. Should have checked the noise more closely instead of assuming the driveshaft was the problem.
Turns out that the sound is present with the car in park! From what I read that narrows down the problem to the rotating engine parts. Things to check are the harmonic balancer, flex plate, alternator bearings (rebuilt) and water pump (new)
According to my GPS the Chevy’s speedometer was reading about 20 kms faster than it was going. I thought I had installed the original ’79’s drive gear, orange – 8 tooth and brown 18 tooth driven gear. From what I found out in my research I should have a 22 tooth grey driven gear. I swapped the 18 tooth driven gear for the 22 and I don’t have to mention the pain it is to get at the speedometer housing on the back of the trans with the cross member and exhaust pipe in the way – now that I have true duals on the car. Job done now for the test drive.
Now before I do another test drive I’ll try to improve he AC cooling. It’s working fine, but no reason not to make improvements. The box containing the AC evaporator is right beside the exhaust manifold so it must get quite hot which will heat the cool air a bit as it goes into the cabin.
I picked up this heat shielding on Amazon. Cost about $20 with tax. It is 30X60 inches and is sold as aluminum heat shield blanket. It has a sticky backing and the aluminum is covering a thin layer of some heat absorbing woven material.
A bit tricky to fit with all the bumps, curves and angles of the AC box. I did it in strips and didn’t worry too much about any overlap. Came out OK I think. I’ll need to do some driving in the heat to see if it makes any difference. The cooled air coming into the cabin is now a bit under 50 F.
Test drive over and the speedometer is dead on according to my GPS unit. Also the AC entering the cabin is now at the 48 degree mark – nice and cool 🙂